Life Drawing: Week One: Part Three
Lighting
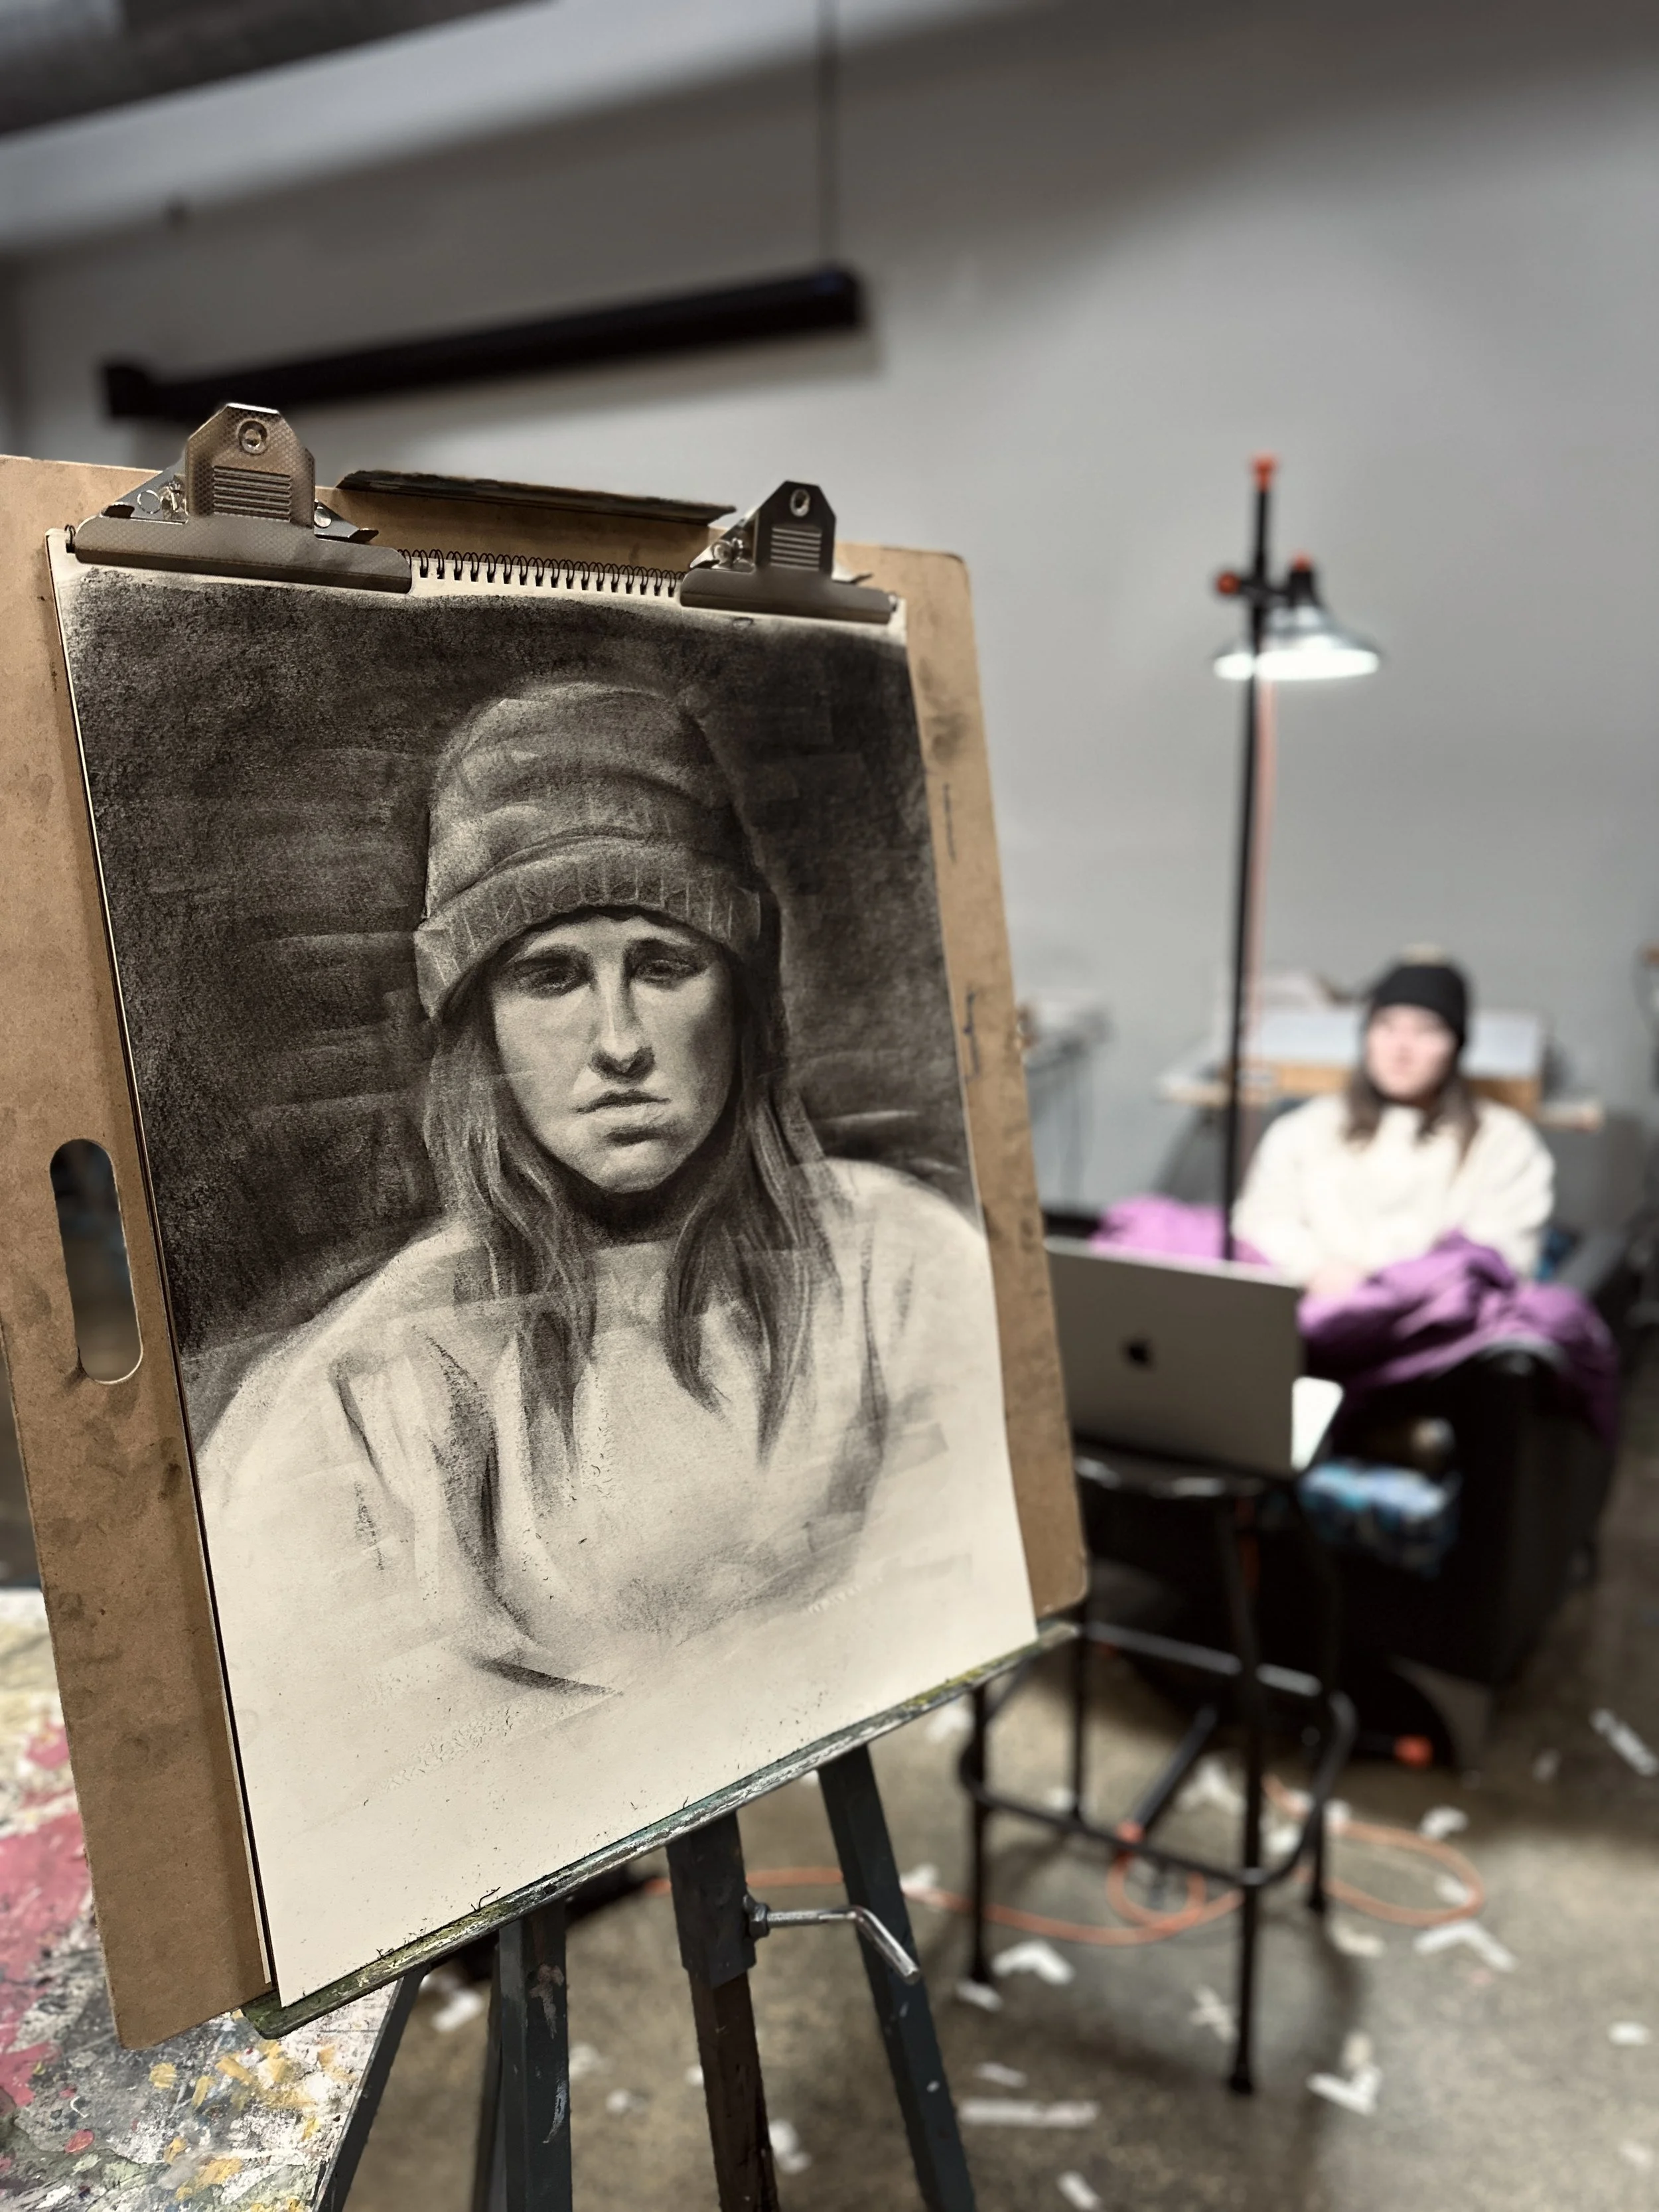
For this portrait, my classmates and I decided to place the main light source approximately head-on with the model. Additionally, we positioned the lamp slightly above the model’s face and dimmed the overhead light to create dramatic shadows.
Materials
For this piece, I used charcoal pencils, compressed charcoal sticks, a polymer eraser, a pencil eraser, and 18x24 inch drawing paper.
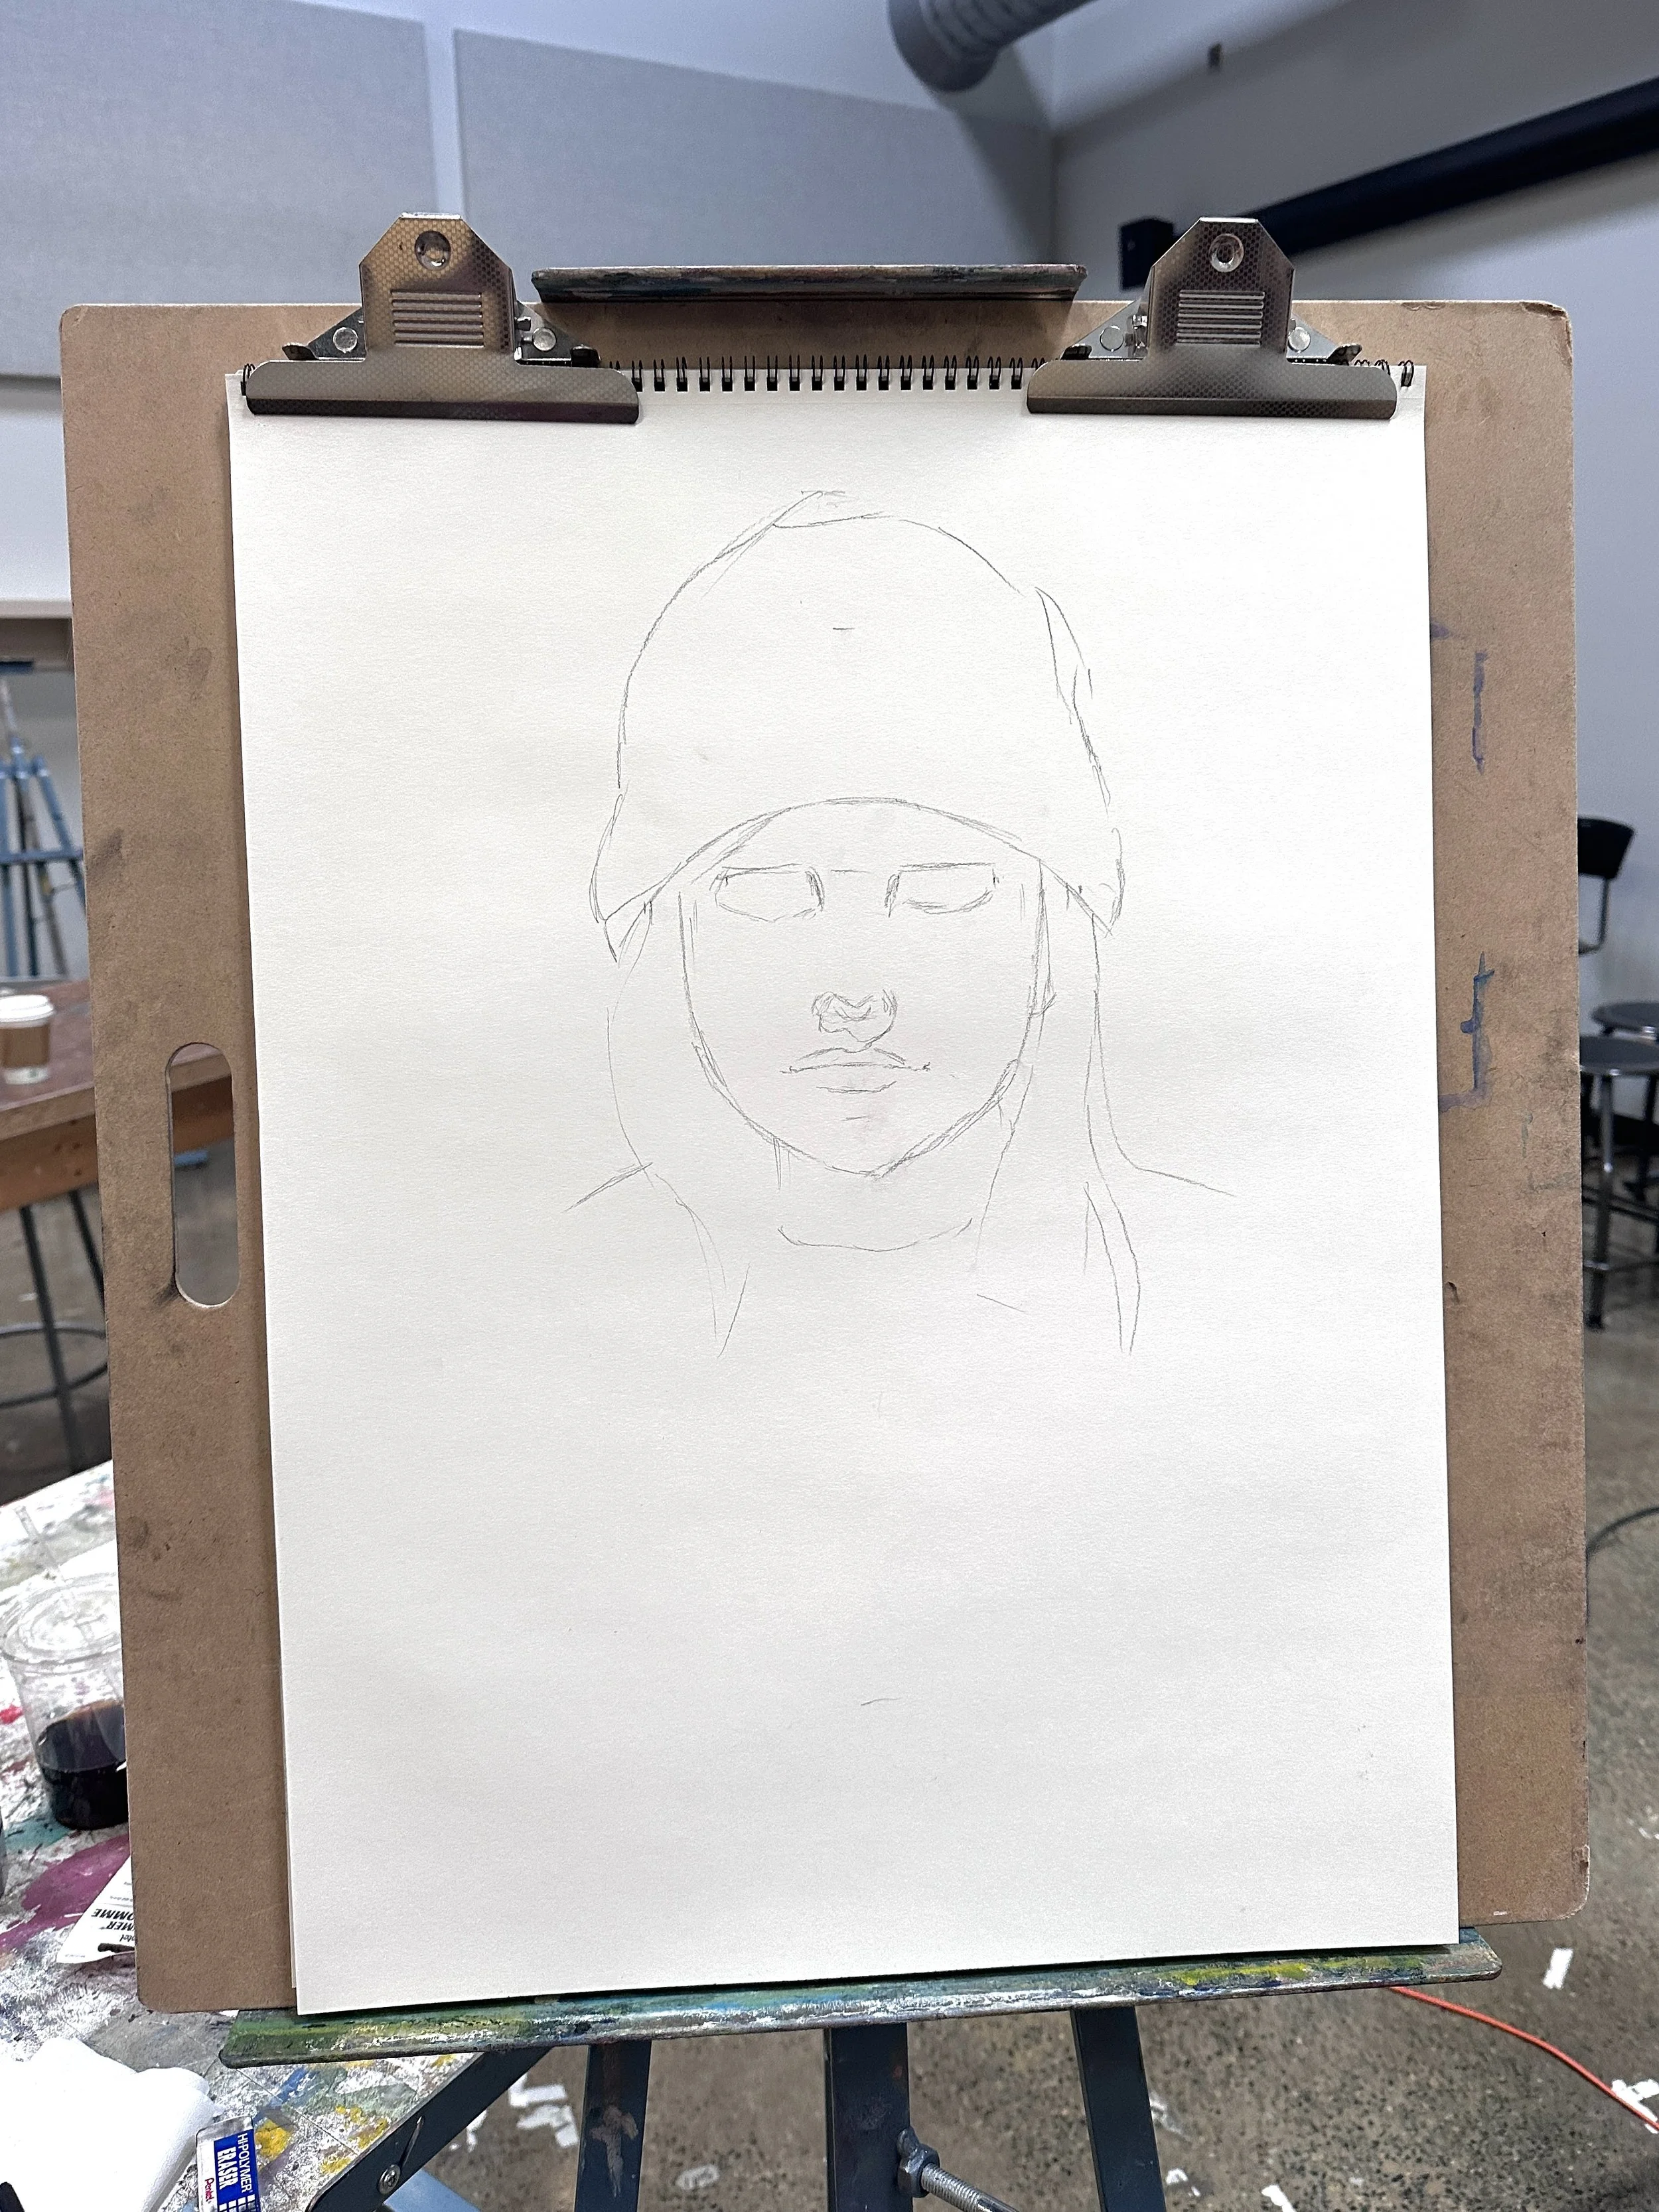
Step One:
After everyone was set up and ready to go, we began to draw. First, I began by sight-measuring the model’s face to determine her facial proportions. Next, I indicated these measurements on my drawing paper and outlined basic shapes.
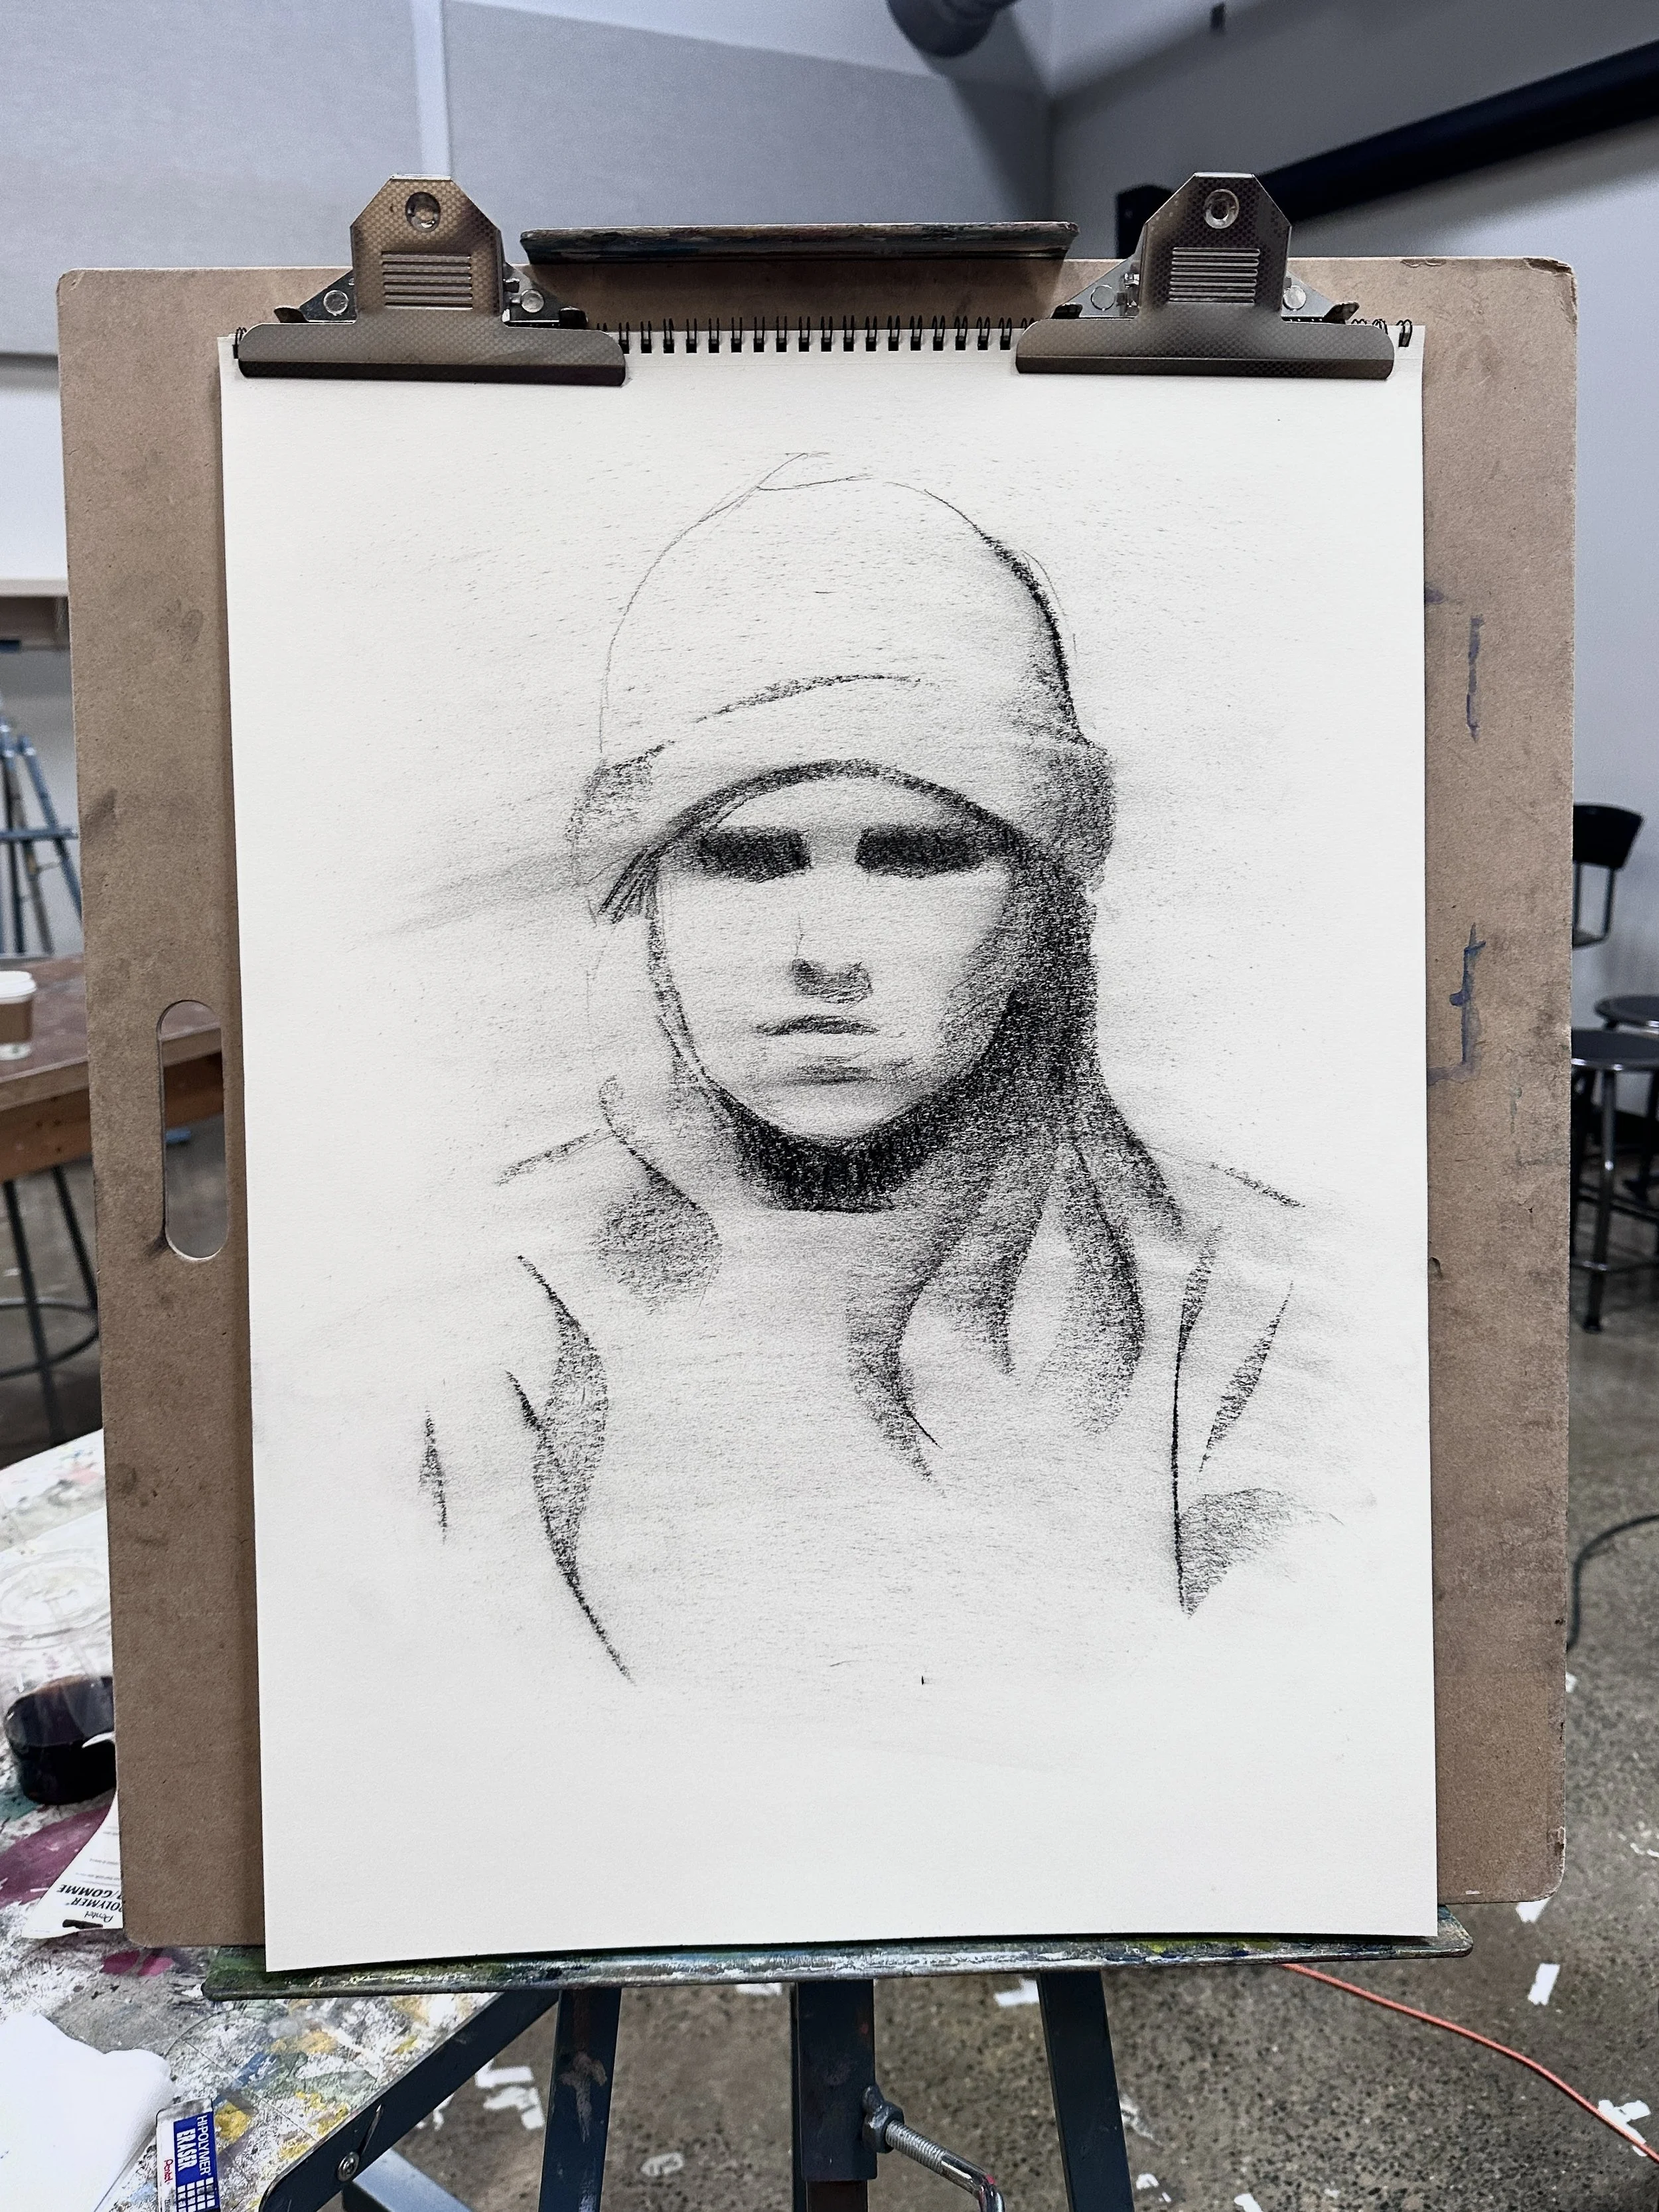
Step Two:
From here, I blocked in the darkest values. At this point in the process, I wasn’t focused on detail. Afterwards, I smudged the charcoal across the paper to darken the overall value of her face. This step helps me determine whether the values are actually correct. I typically use my hand when smudging charcoal because it covers a large amount of space quickly. I could technically use a cloth or paper towel instead, but where’s the fun in that?
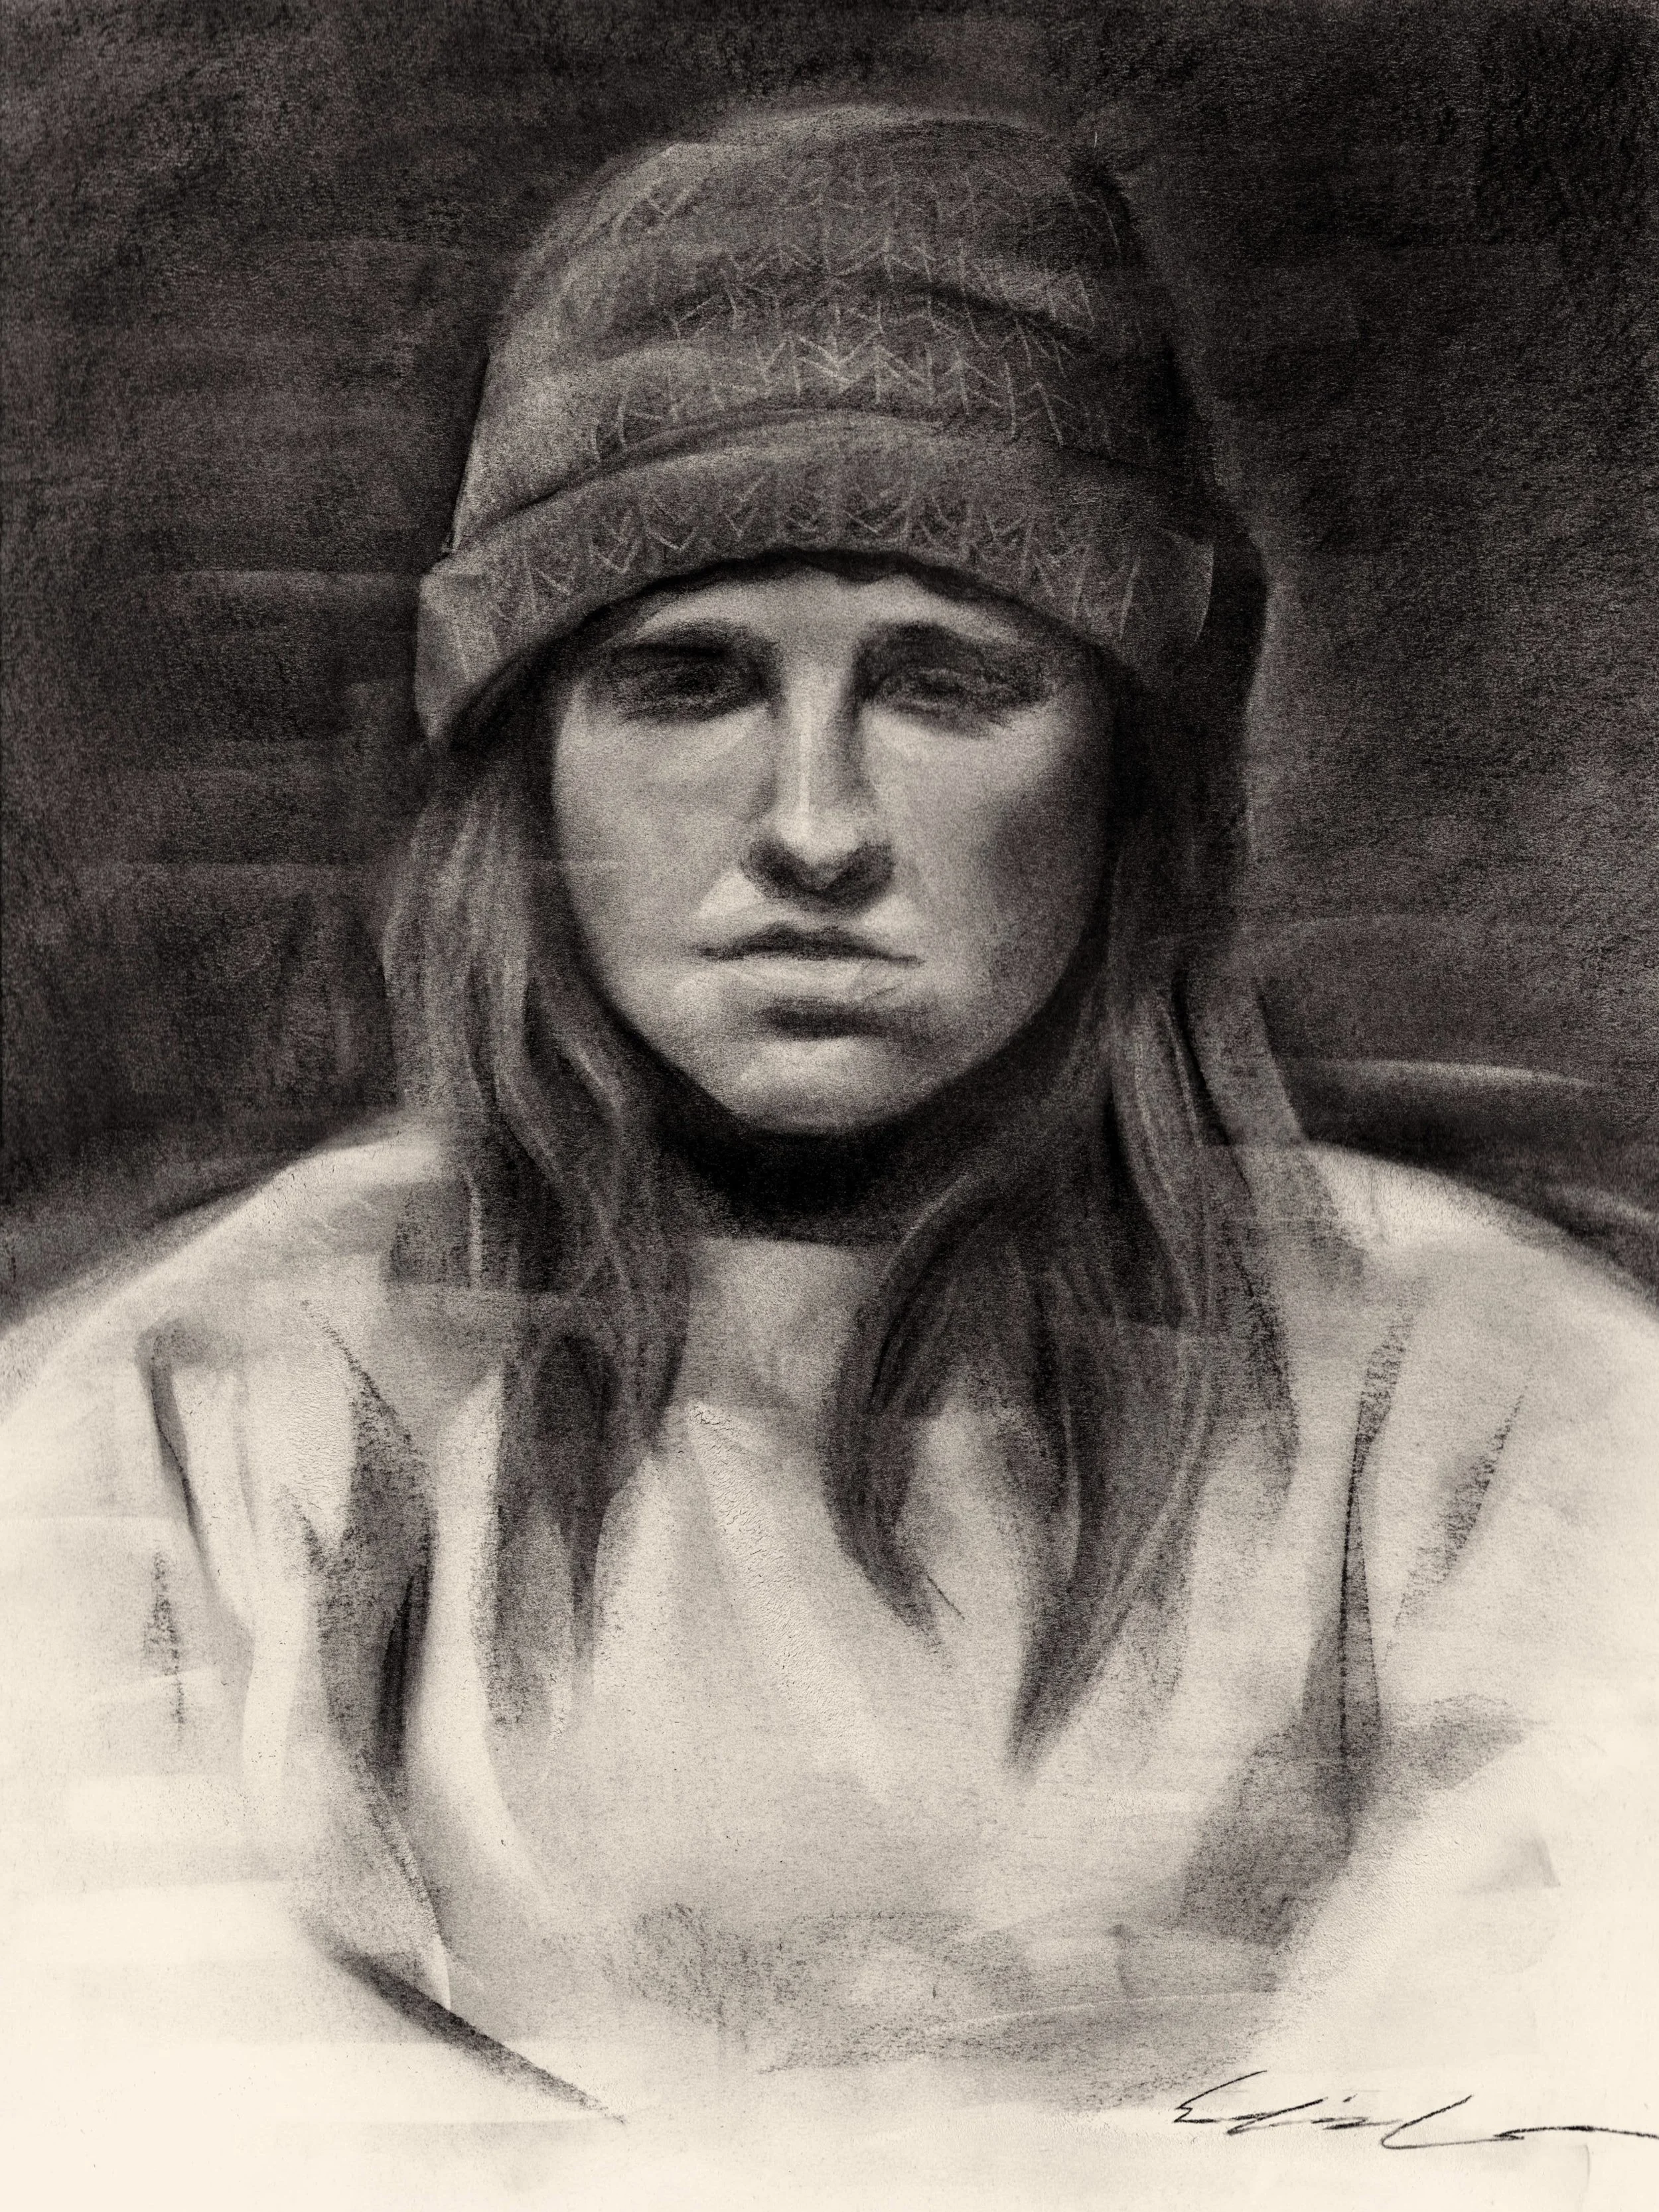
Step Three:
Once I have the basic forms and values mapped out, I begin adding detail. I typically use an additive and subtractive method while accomplishing this task. This means that either I use the charcoal pencil to draw details, or I incorporate the eraser to create highlights and remove dark spots (thus adding detail in its own way). I continue to add and subtract certain elements until I am finished with the artwork. Once I am finished, I spray the artwork with a fixative to keep the drawing from being smudged. Overall, I am pleased with the outcome of this drawing.
The total duration for this session was about 1.5 hours.
Date Created: 30 January 2026
Medium: Charcoal on Paper