Life Drawing: Week Two
The Story Behind the Drawing
What makes an artist “great?” Is it talent? Maybe it’s having the most expensive equipment?
I believe the answer is “persistence.” From my experience, it’s never 100% guaranteed that a drawing or painting will turn out the way you hope it will. In fact, you may spend hours, days, weeks, or even years on a piece you absolutely abhor by the end, and that’s a terrible feeling to have. For a lot of people, the possibility of failure prevents them from even starting in the first place.
Candidly, it still scares me sometimes to begin a new artwork… and I’ve been doing this for many years now. I wonder, will this daunting feeling ever go away? Maybe it’s something us humans will always have to push past regardless of how experienced we may be. Anyways, the point is that it can be uncomfortable (sometimes even embarrassing) to miss the mark or to be objectively bad at something. I wonder how many great artists the world missed out on having because people were too afraid to even start trying. Hmm. That’s food for thought.
The first fruits of persistence may result in “failure.” However, I believe the continuation of persistence will result in success in some form or capacity. You will miss the mark many times… until eventually you don’t. Personally, I’m still climbing that hill.
Why do I bring up the topic of persistence? Well, I’m glad you asked.
I’ll let you in on a little secret. Before I started this piece… I considered throwing in the towel. I’ll quickly explain. Having a person come and pose while you draw feels more intimidating than drawing from a photo reference, because that person may have a front row seat watching you “fail” in real time. As the drawing session started to approach, I began to feel nervous about failing. “What if I spend the next three hours of my valuable time… failing?” “What if my artwork looks ugly at the end?” “What if I’ve been faking it for the last 11 years of my life… and I actually can’t draw?” Long story short, I didn’t “feel” like drawing that day. In fact, I wanted to reschedule. However, a part of me felt like I needed to try anyway, so I did.
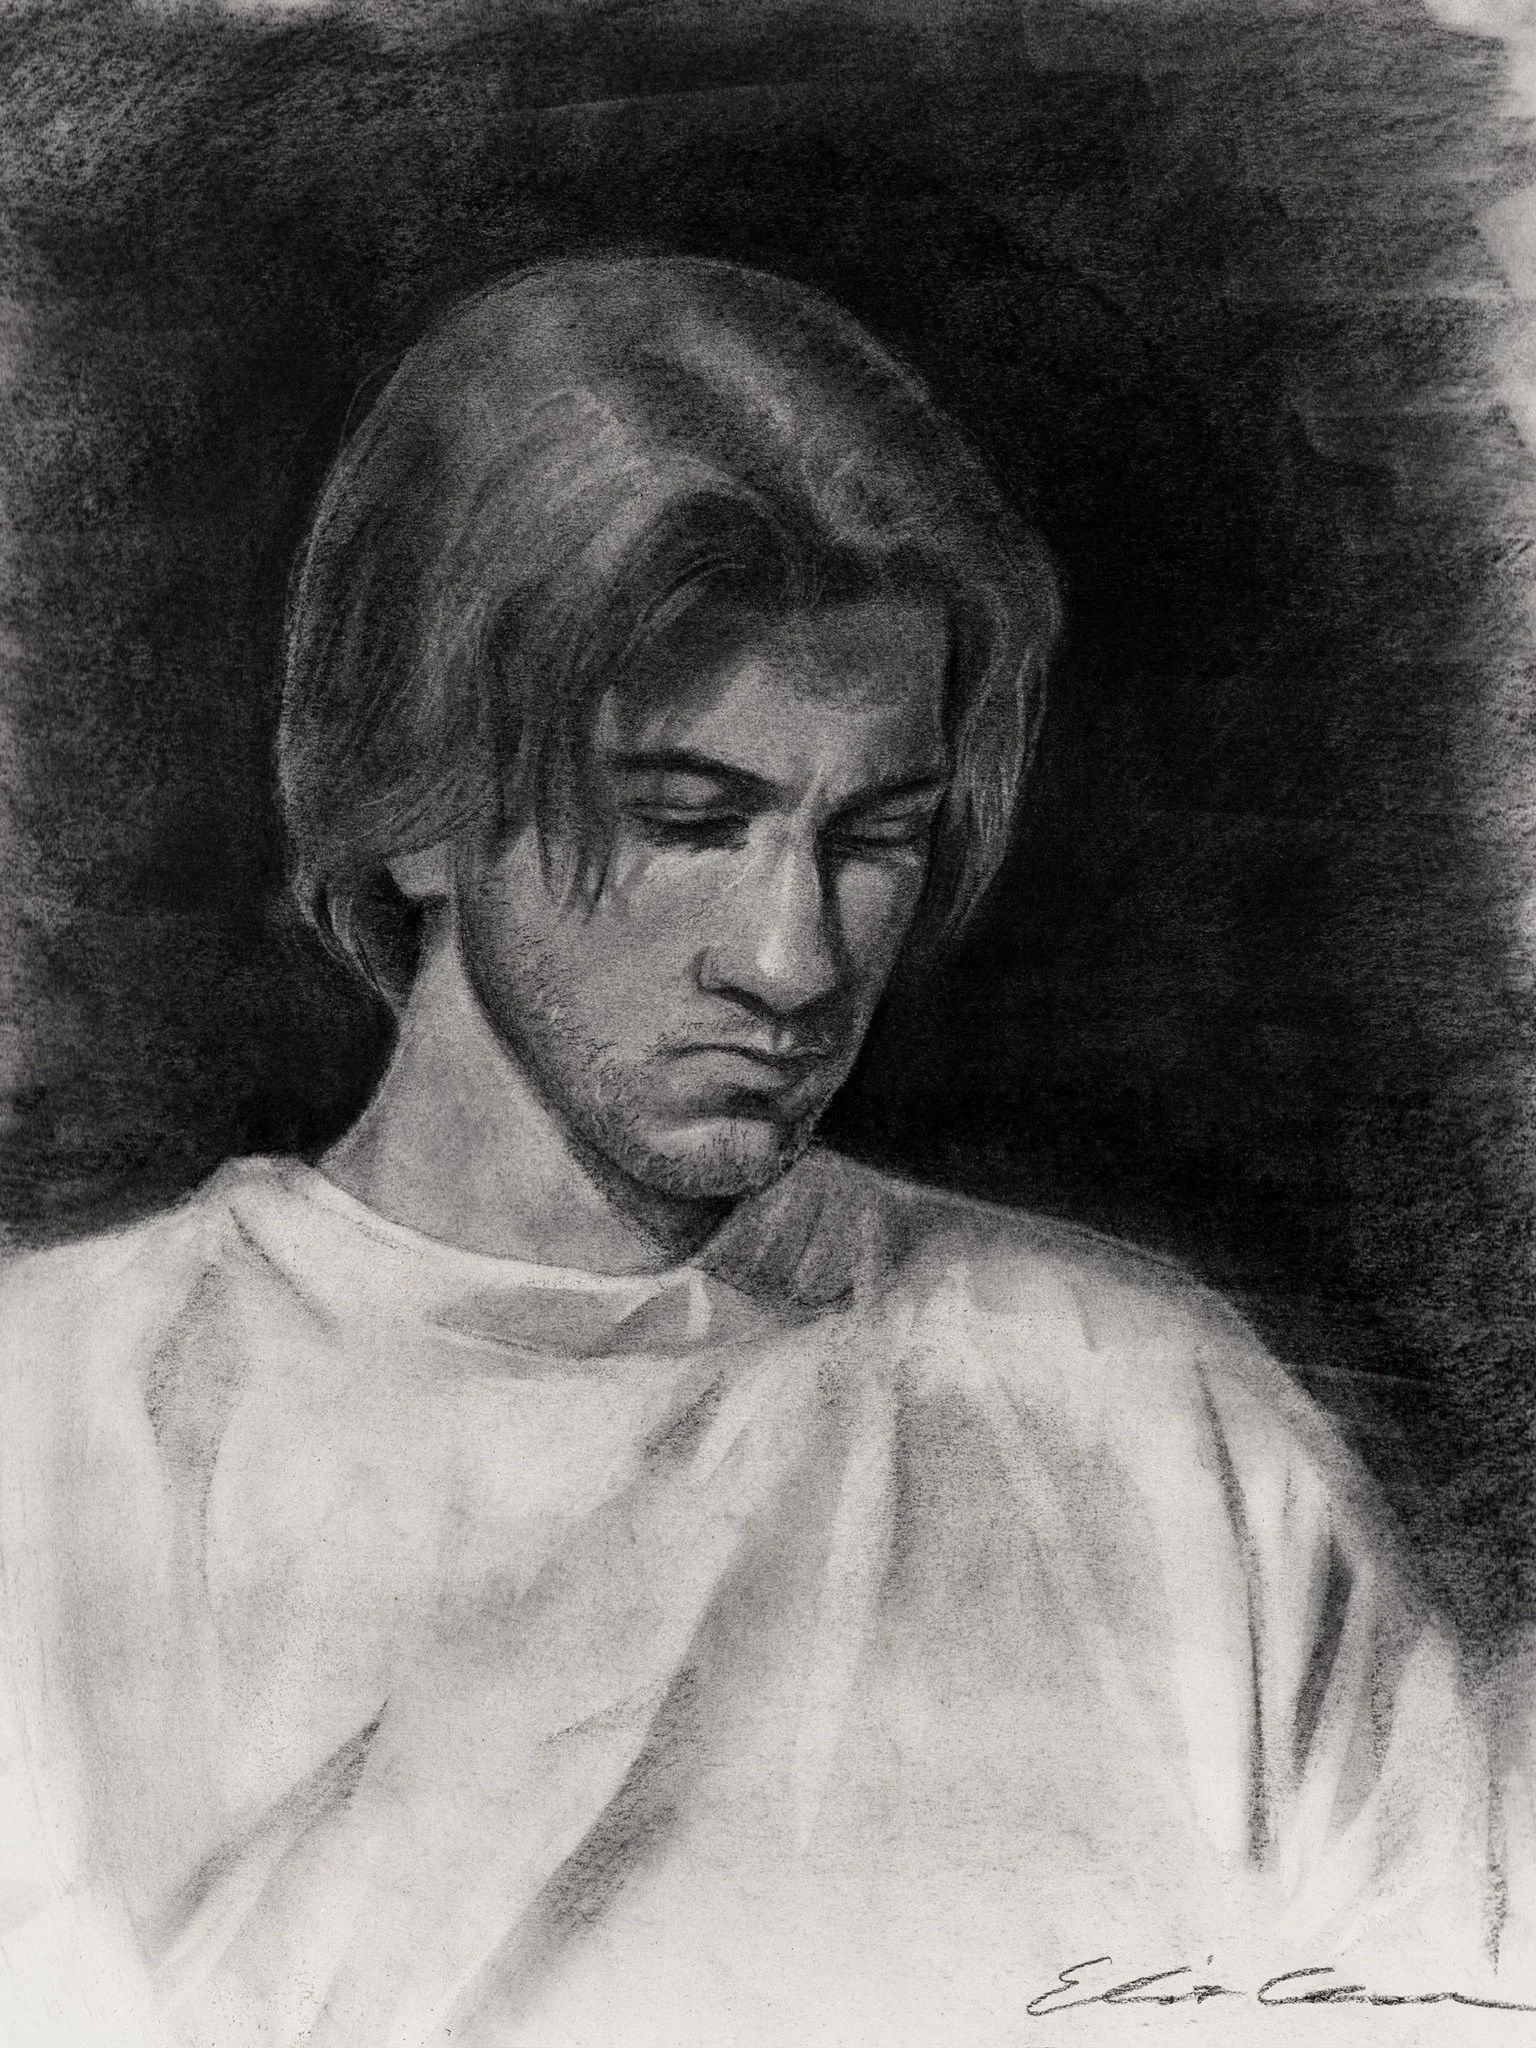
I’ll spoil the end of this story. This artwork ended up being one of my best live drawings yet (completed photo located at the end of this post). The drawing resembles the person that I referenced, and I’m also satisfied with the shading technique. What a shame it would have been had I chosen to reschedule out of fear. I came really close to missing out on a good drawing. I’ve learned that, sometimes, we can be our greatest obstacle to success.
I encourage you to try whatever it is you’ve been dreaming of doing. Sure, you might be terrible at first, but please be okay with it for a little while. Because one day, you could be great… with persistence.
Materials
This drawing session lasted approximately 3 hours. My materials included an 18x24 inch drawing sketchbook, a charcoal pencil, compressed charcoal sticks, a medium sized polymer eraser, and a pencil eraser. To blend the shadows, I used my hand or finger. Typically, I recommend using blending materials such as brushes or blending stumps; however, I like using my hand to blend the charcoal in the live drawing context.
Arrangements / Lighting
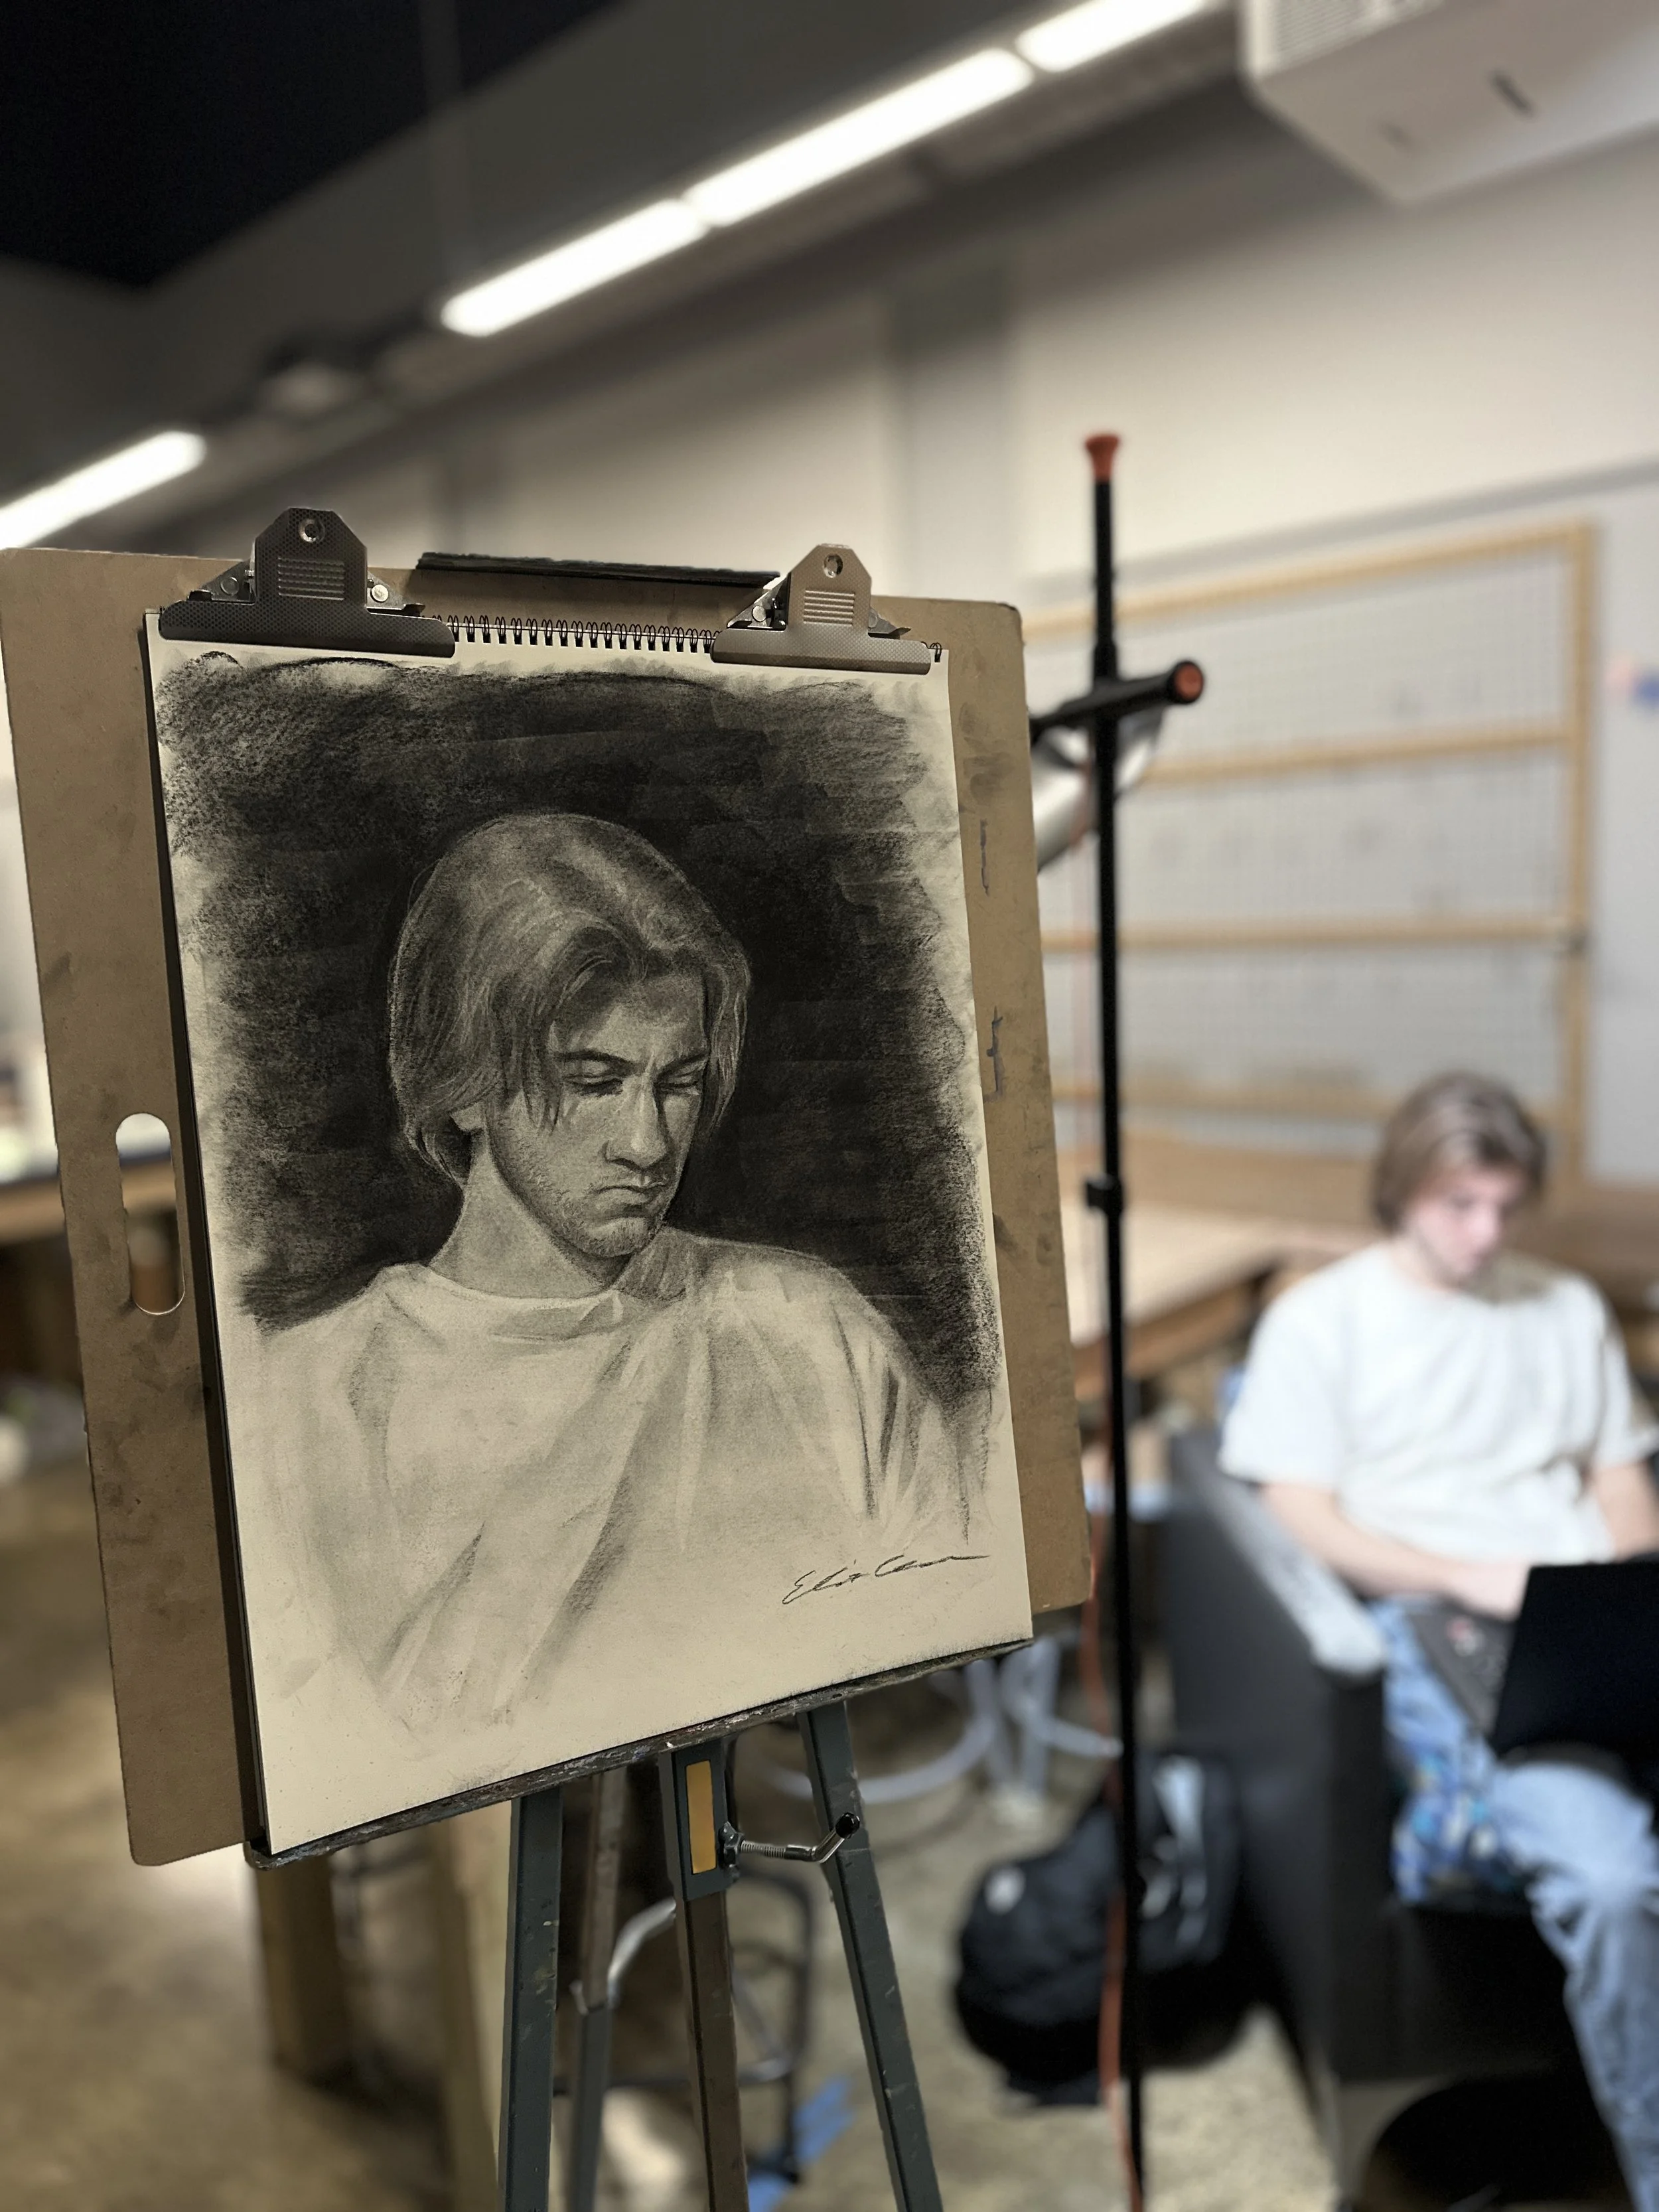
For this drawing session, I arranged the model at the ¾ angle from the perspective of where I was standing. In terms of lighting, I used one primary light source (a lamp) and incorporated Rembrandt lighting. After setting up the lamp, I dimmed the overhead lights to create a more dramatic environment. This effect creates deep shadows and bright highlights, which I have found to make the drawing process easier. Once everything is set-up, I am ready to begin the drawing process.
Linear Drawing
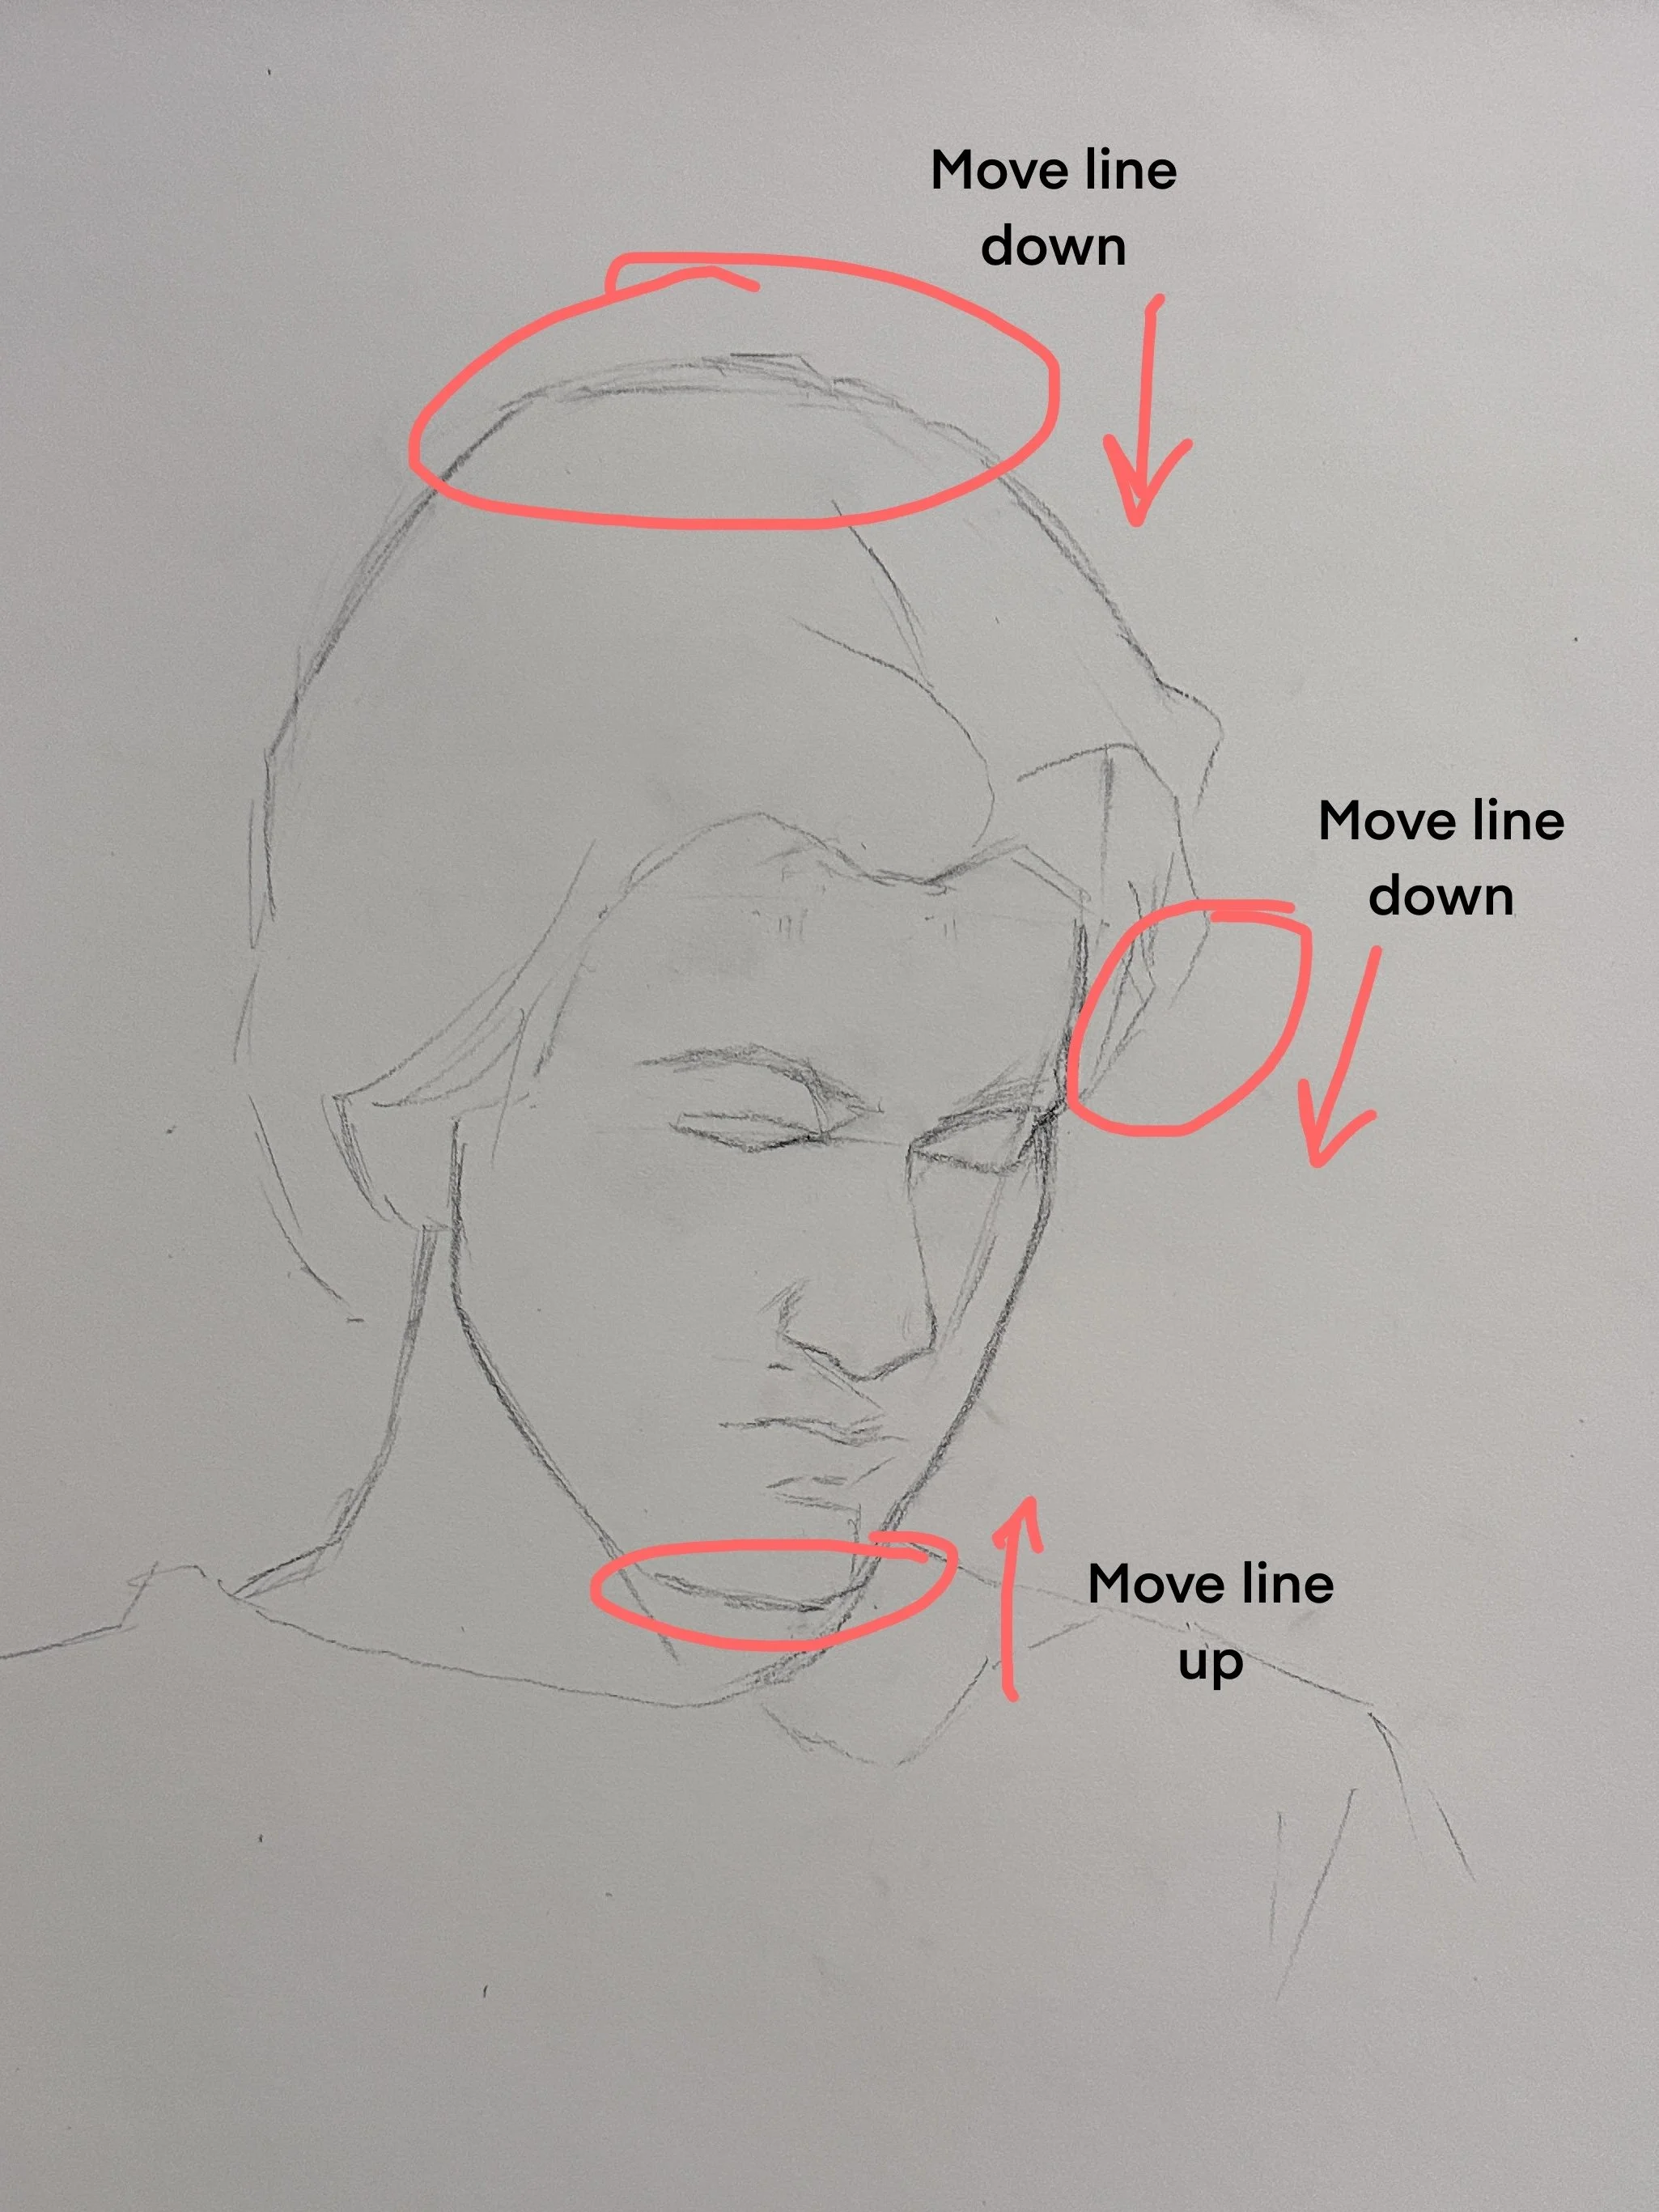
First, I began with the initial sketch. After I completed this step, I was concerned that it didn’t look like the person. Once I took a step back, I realized I drew his chin too long, and I quickly corrected this error. Secondly, I made the top of his head too tall, so I brought that line closer to his forehead. Lastly, I initially indicated that his hair strands were higher than they actually were; therefore, I lowered those lines as well.
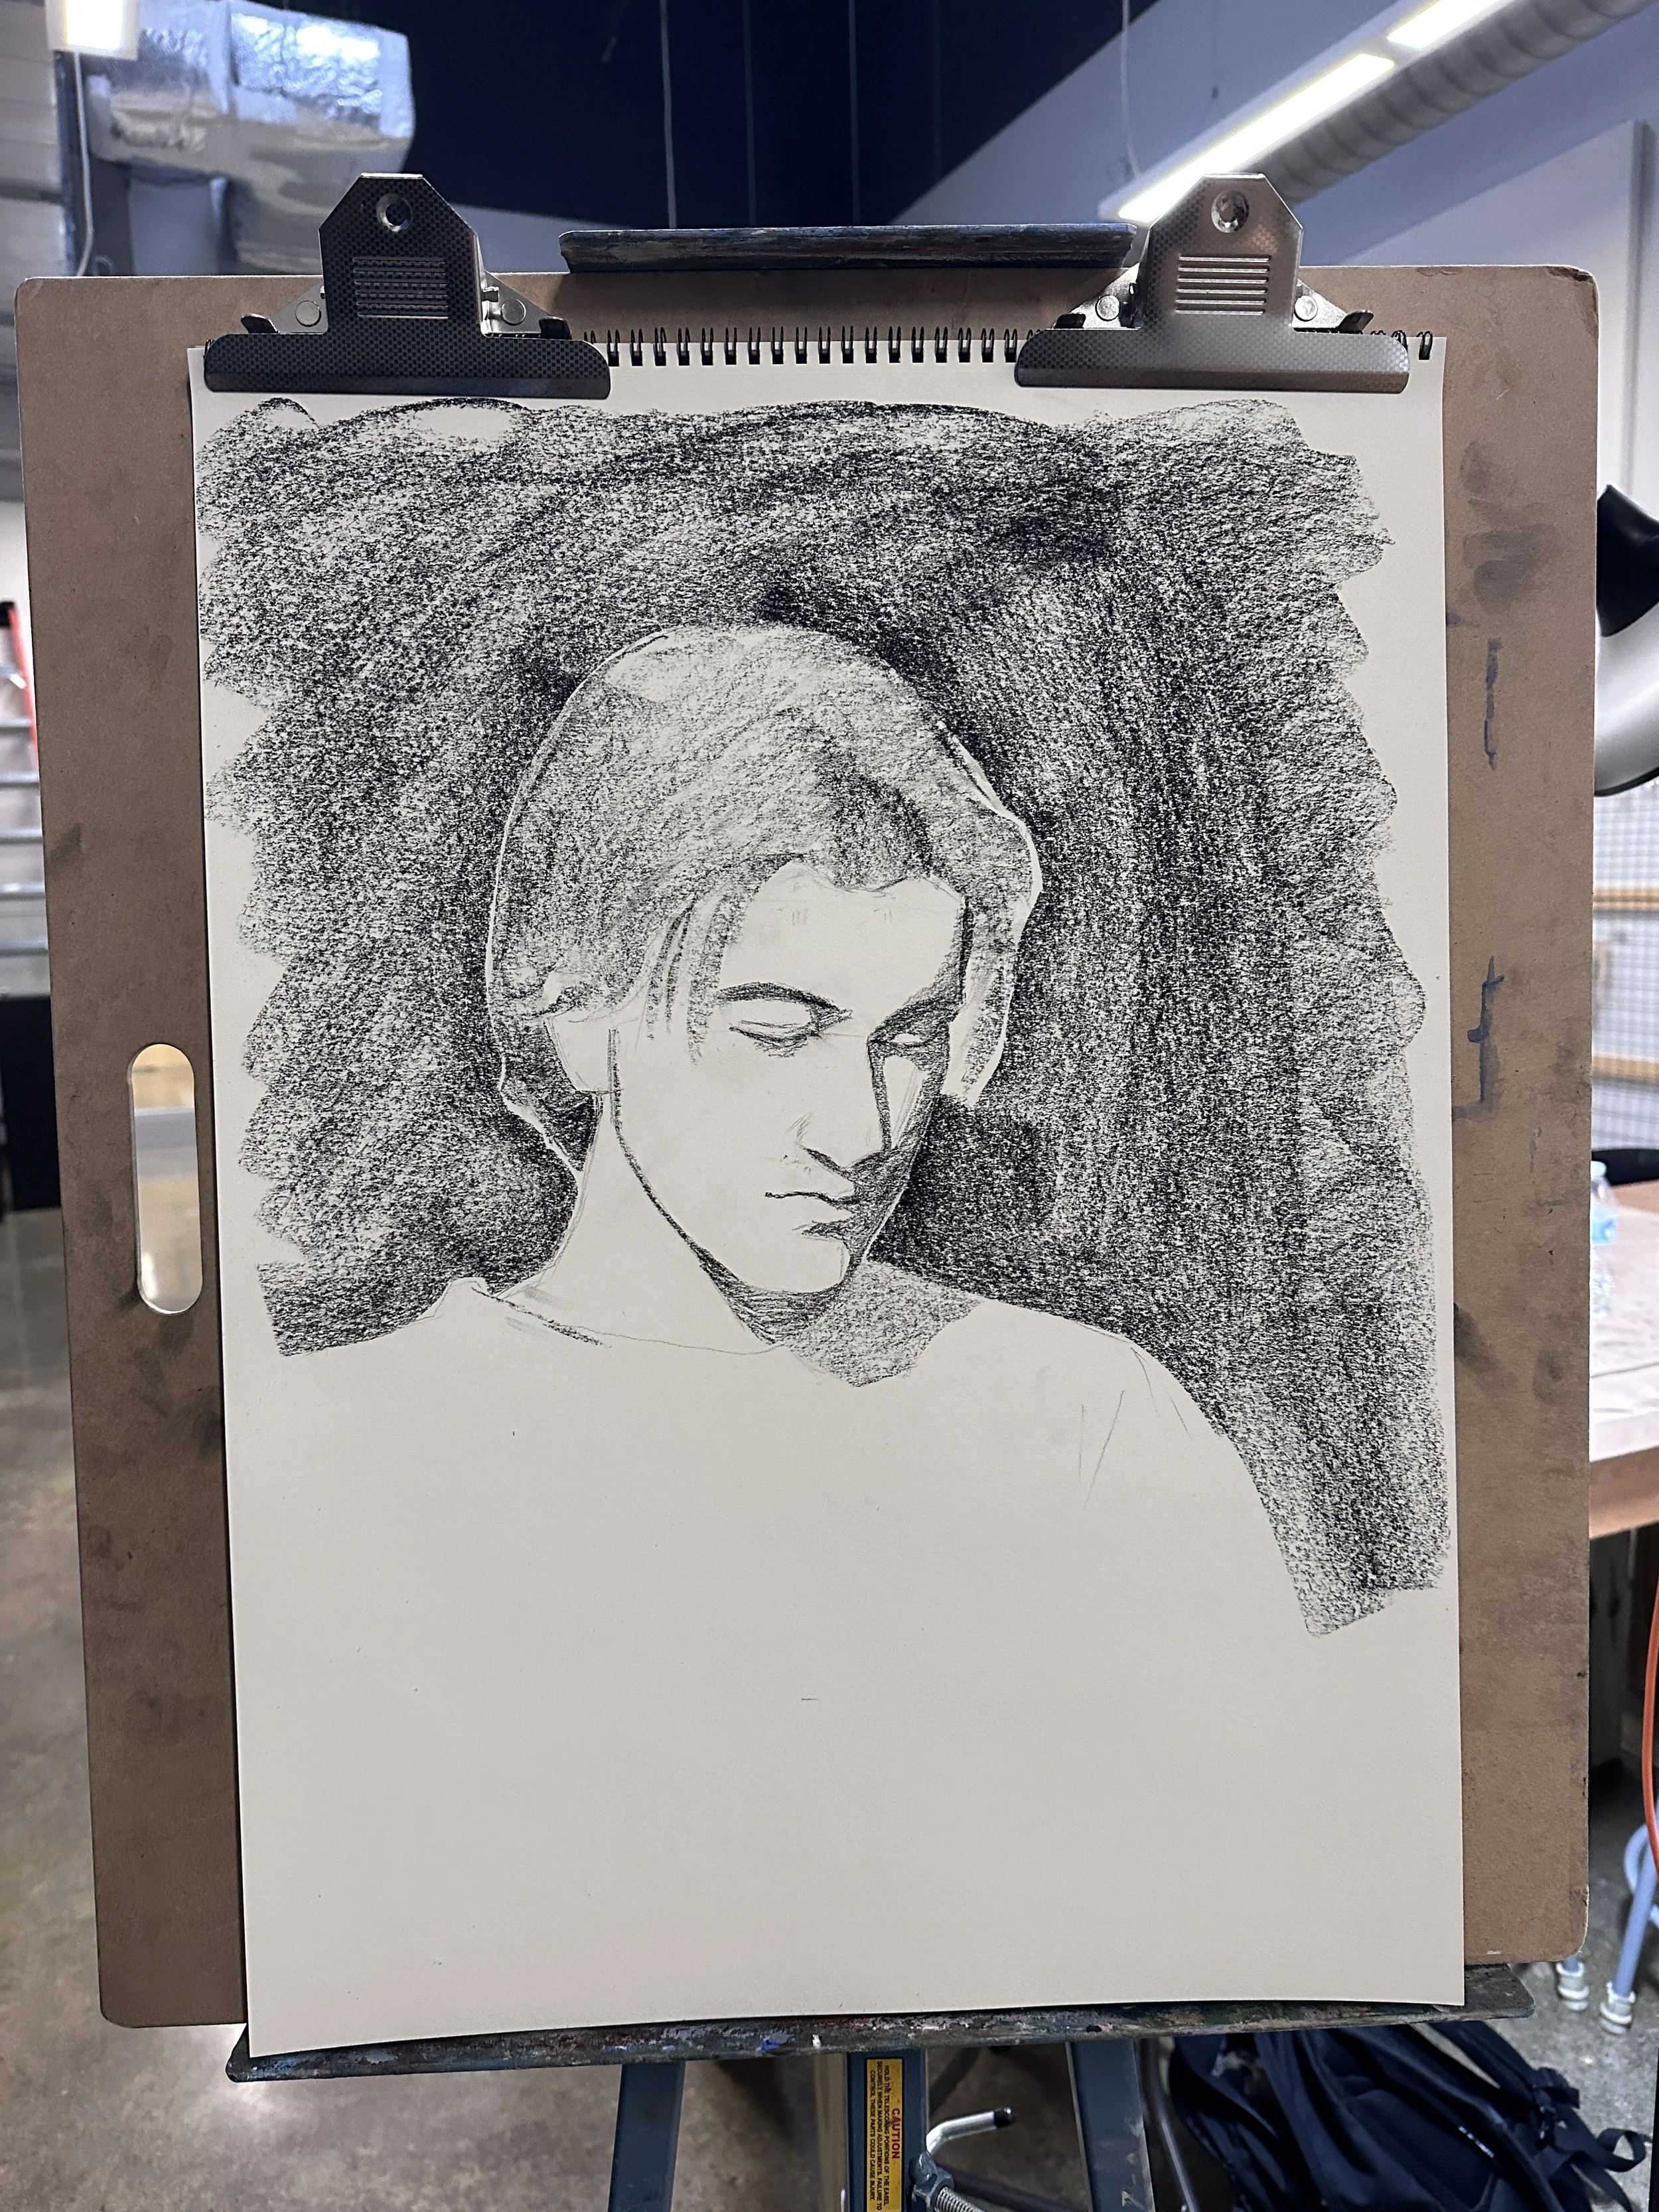
Blocking in Values
Next, I blocked in the darkest values with my compressed charcoal sticks. This is really when the drawing started to look like the model.
Finalization
Lastly, I took my hand and blended it across the paper to create soft edges and midtones. Afterwards, I carved out the highlights with my eraser and reemphasized the deep shadows with my pencil.