Life Drawing: Week One: Part Two
Written by: Corona’s Artwork
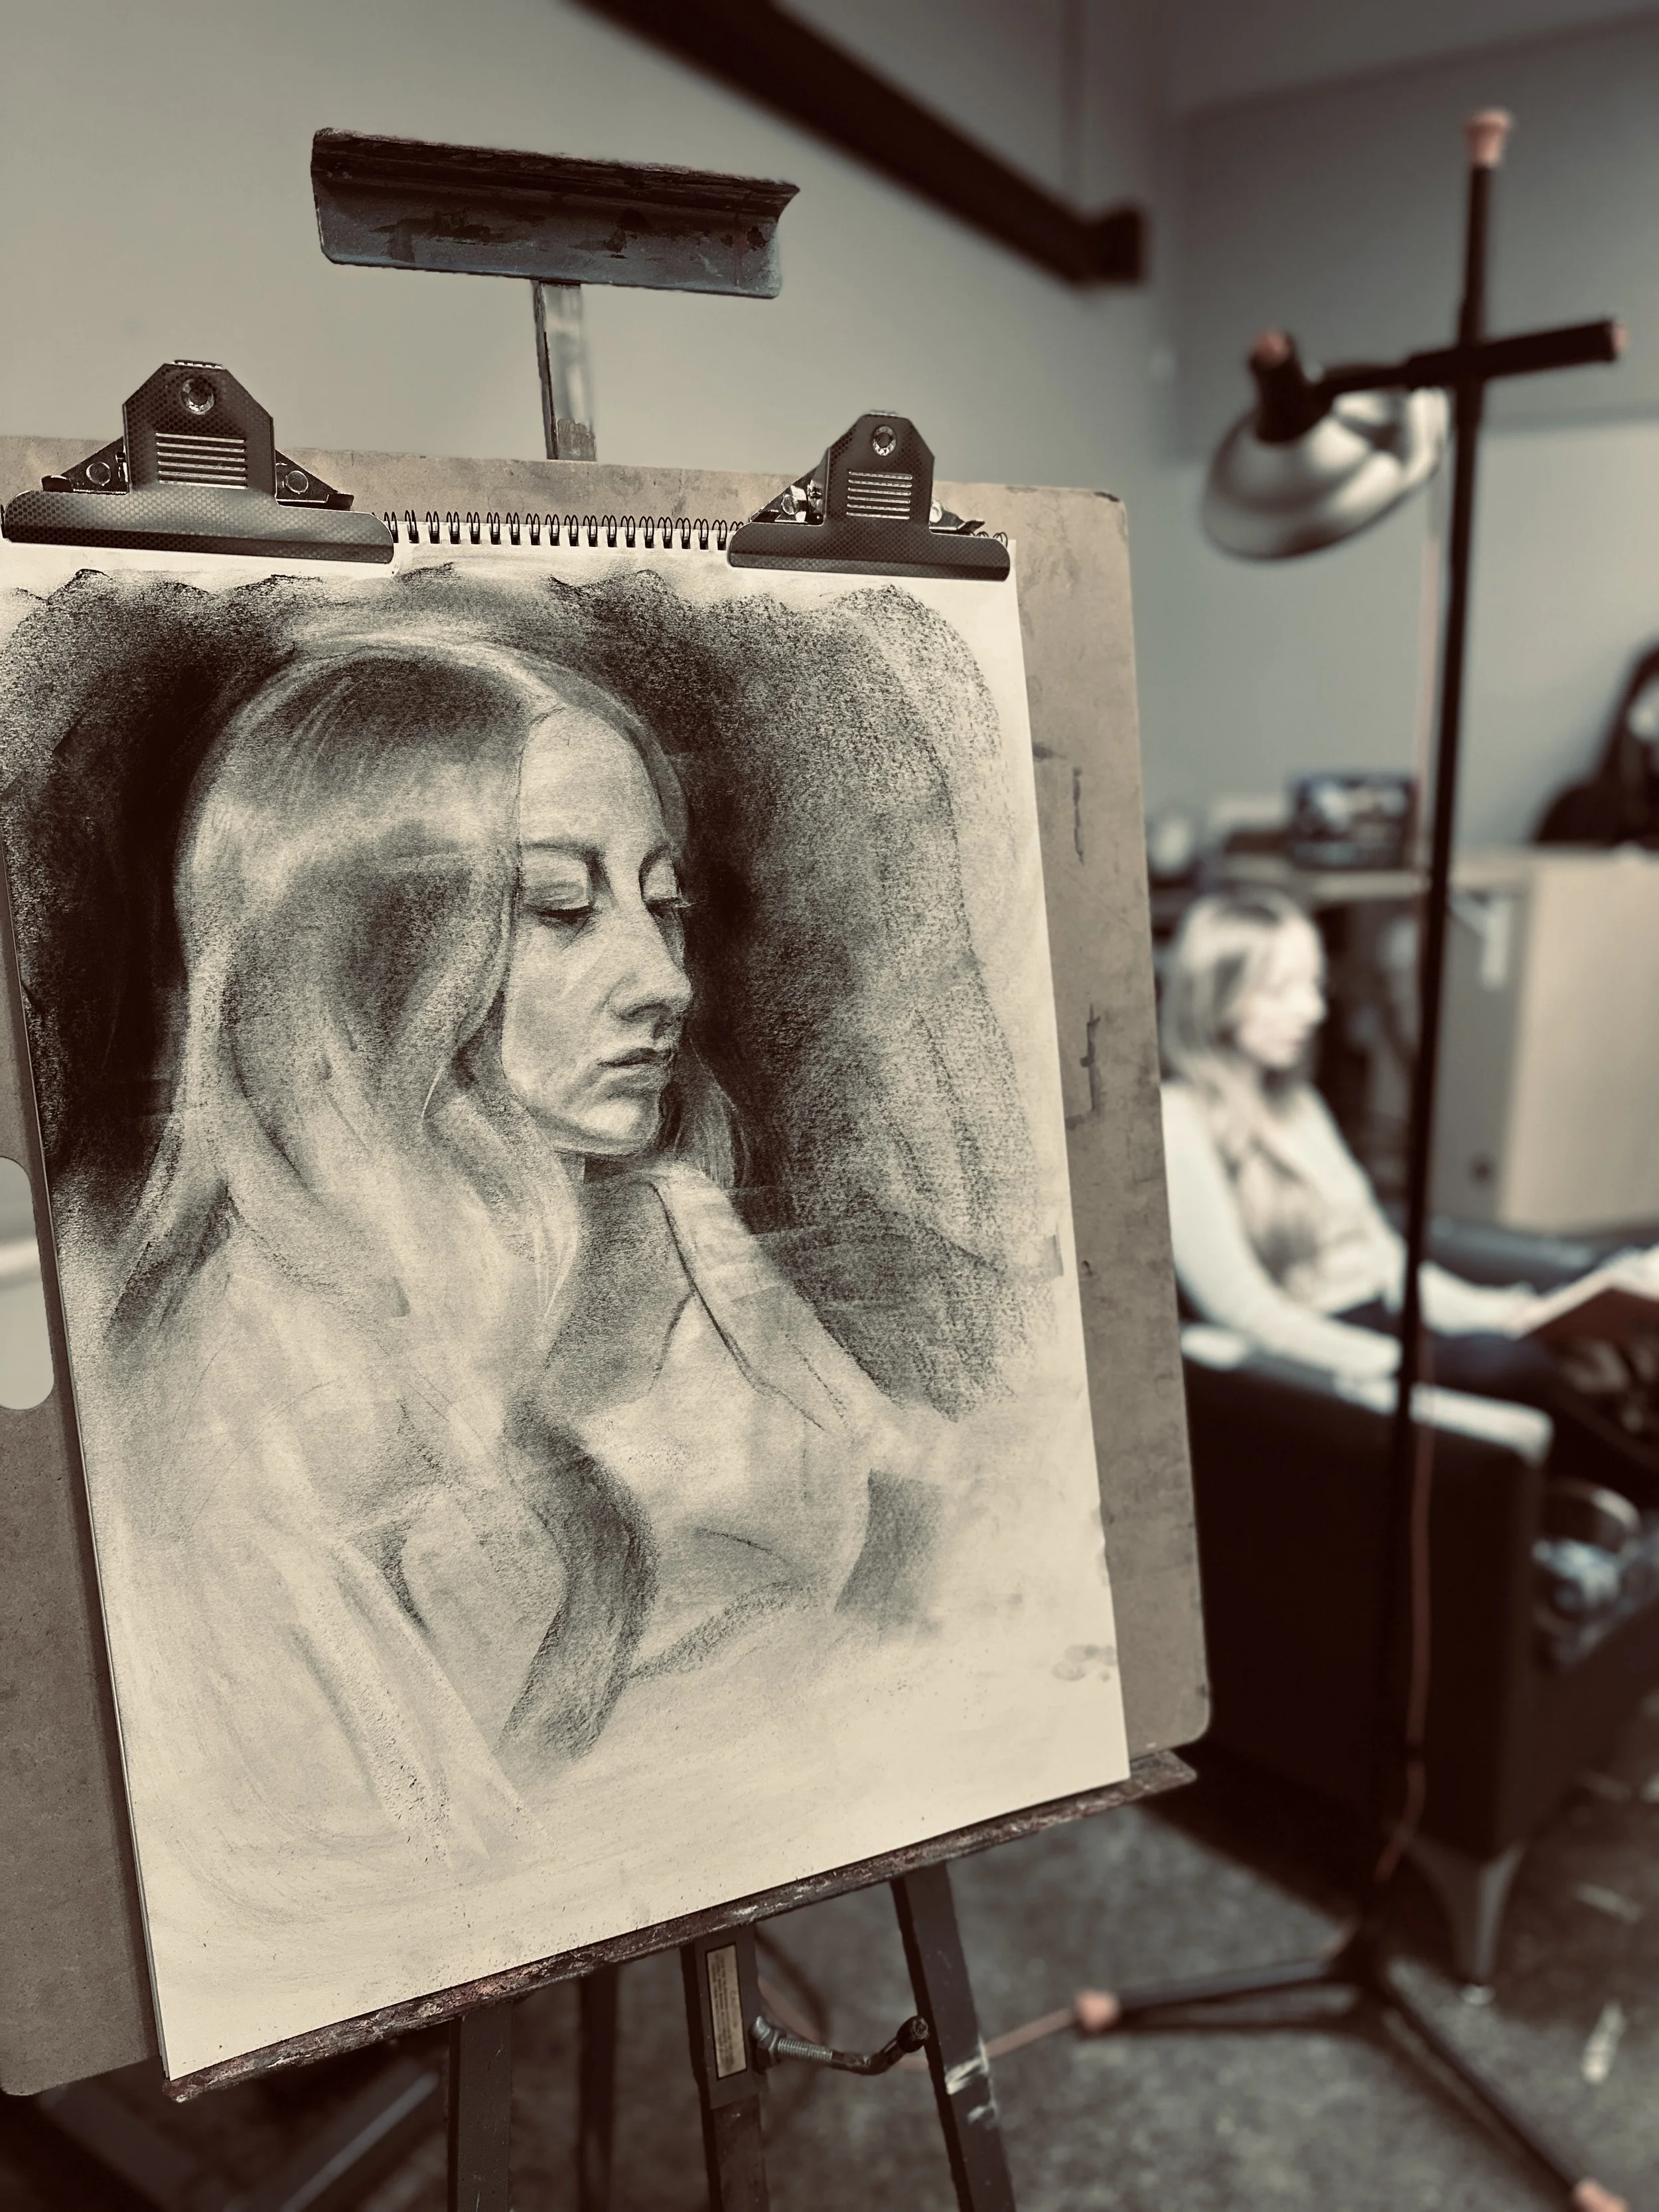
During this week’s class, the other students and I rearranged the room in preparation for our 1.5-hour live drawing session. I placed my drawing easel near the model and positioned the lamp close to her with the intent of creating Rembrandt lighting. There was not enough contrast, so everyone consecutively agreed that the overhead lights needed to be substantially dimmed.
The materials I placed on my workstation included compressed charcoal sticks, charcoal pencils, a kneaded eraser, a medium size polymer eraser, an eraser pencil, a pencil sharpener, and a paper towel. Additionally, I placed my 18x24 inch Strathmore drawing paper pad on an easel.
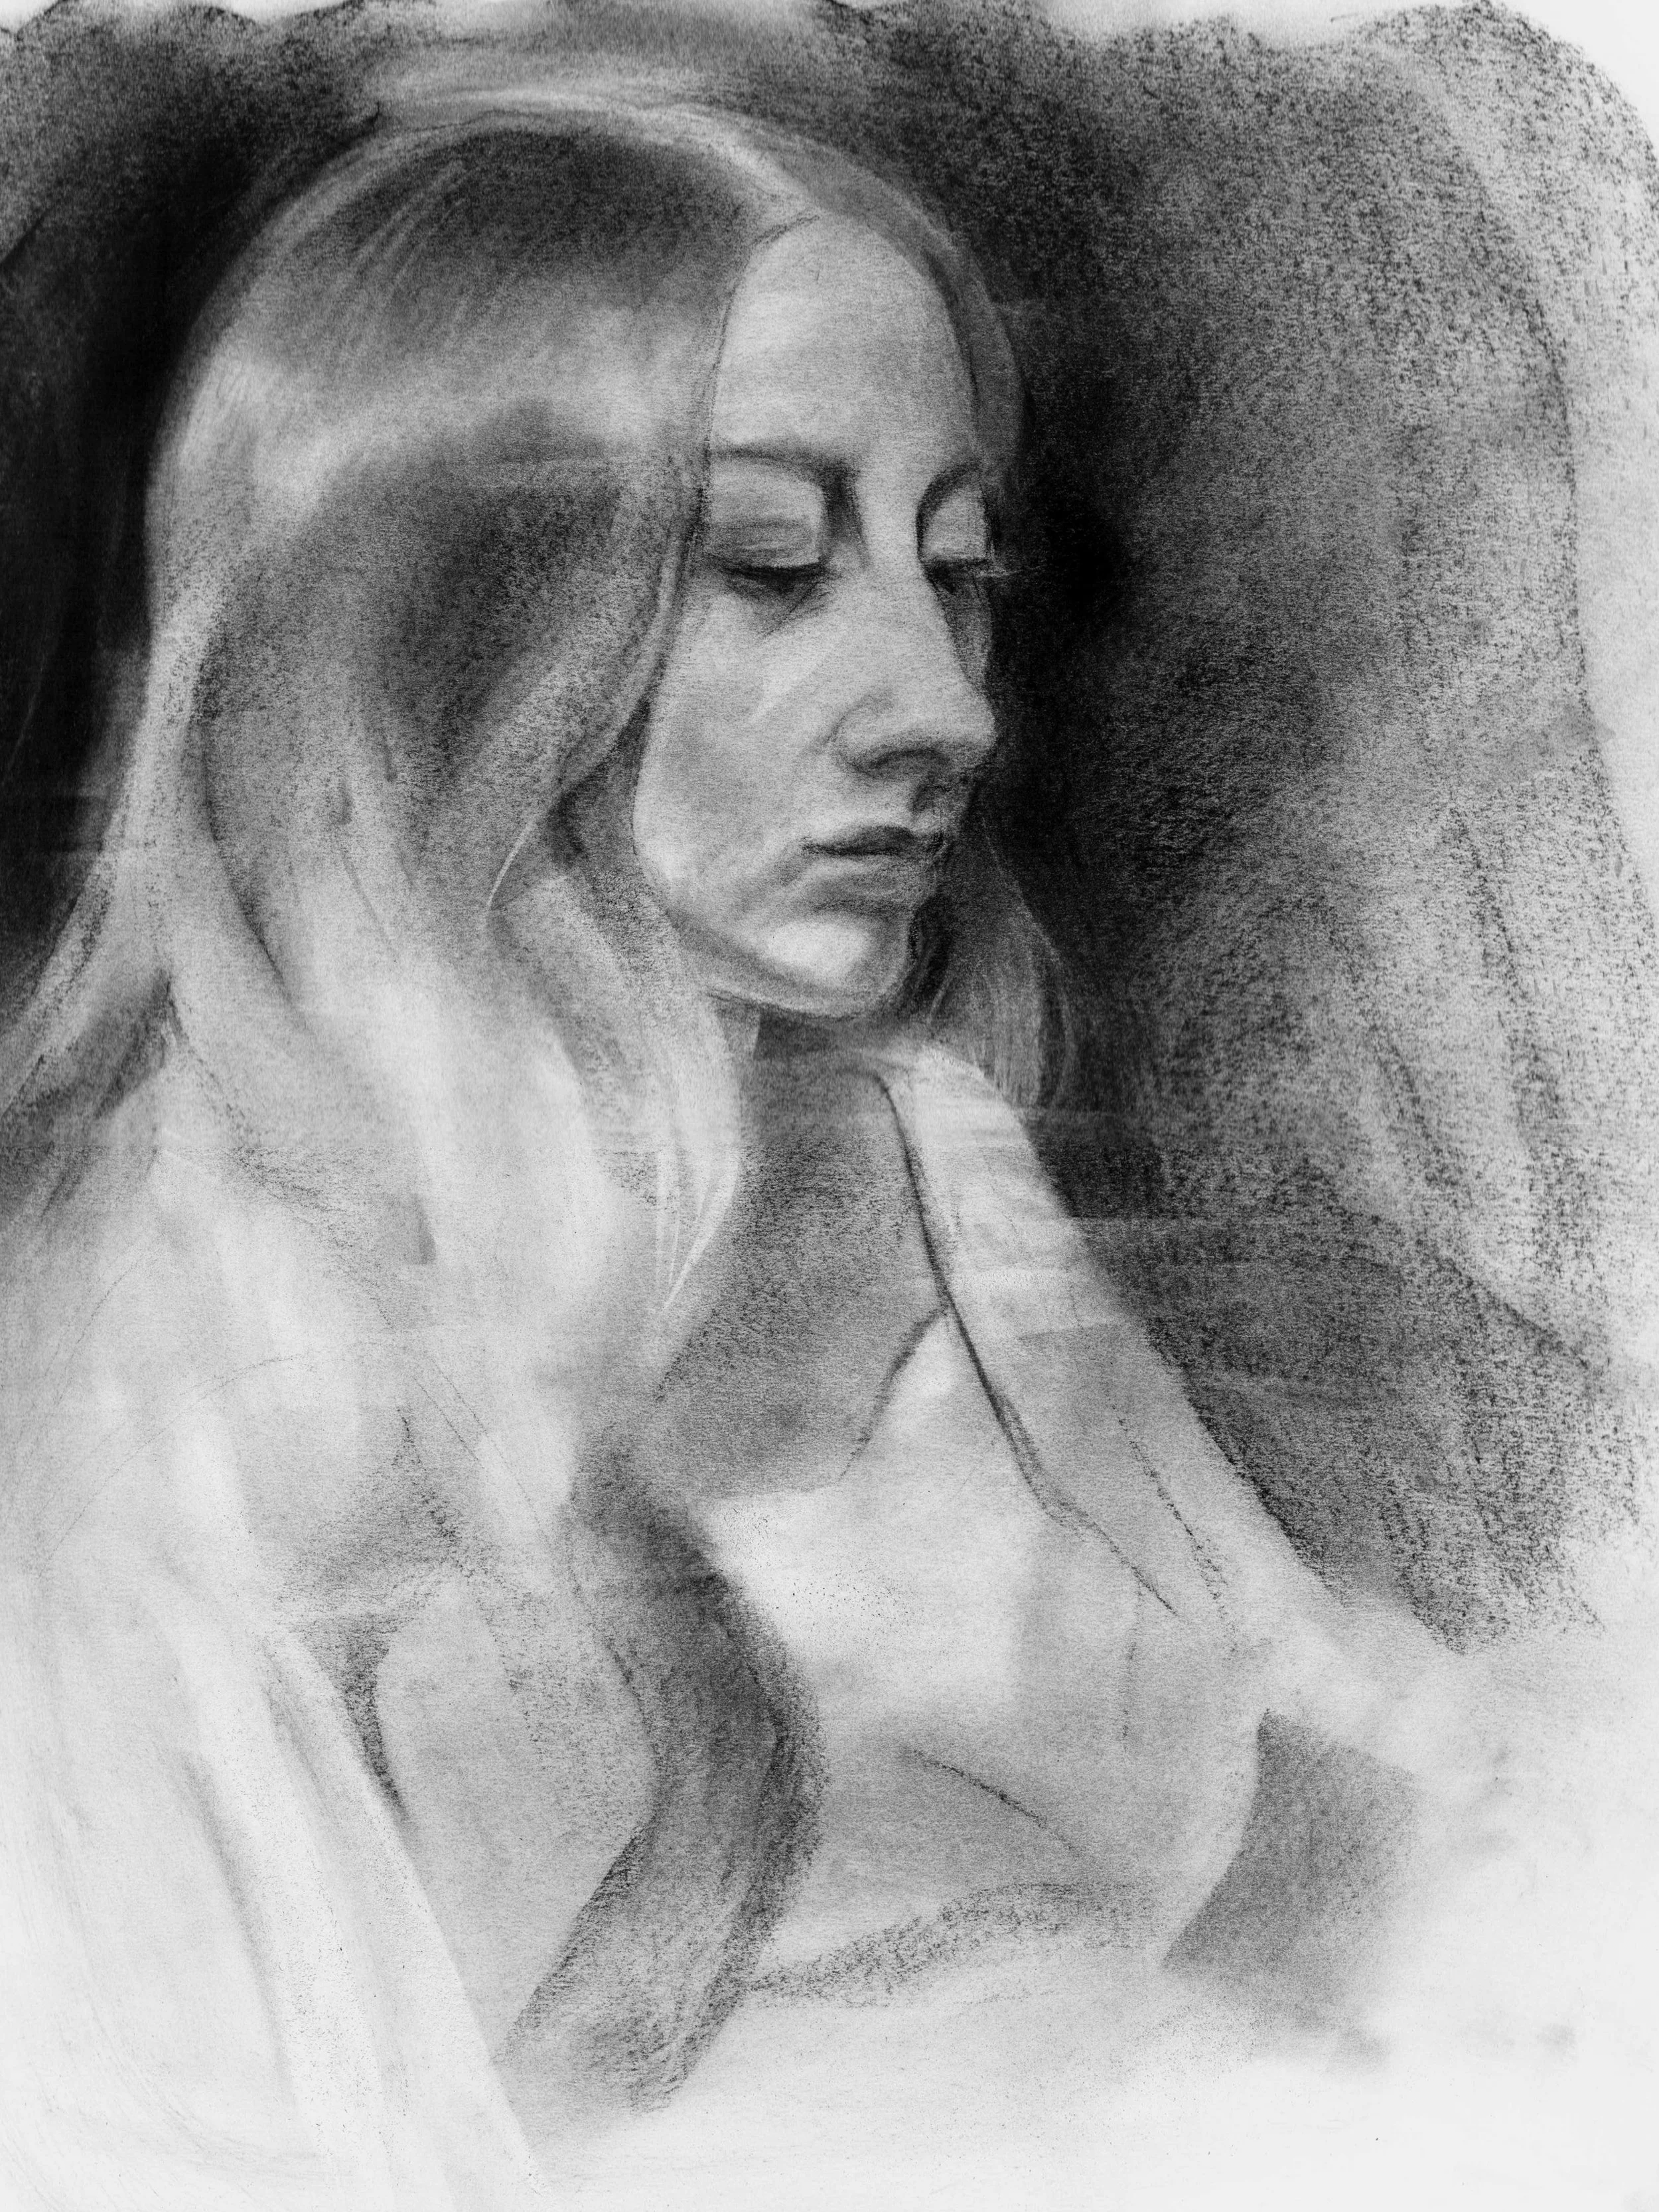
Once everyone was ready, we began drawing. I started my process by transferring the measurement of the span of my hand onto the paper vertically. Next, I sight-measured the distance from the top of the model’s head to her chin, and then I turned this measurement sideways in my vision. I realized this measurement was the same distance from the tip of her nose to the side of her head (from my angle); therefore, I placed the span of my hand on the paper horizontally and drew light markings. From here I located the halfway mark of her face (vertically) by sight-measuring. This measurement was from the top of her head to approximately her eyelashes (closed). Next, I sight-measured her facial proportions from the hairline to about the eyebrow, from the eyebrow to the bottom of the nose, and from the bottom of the nose to the bottom of the chin. I then made these measurements on the paper. After repeating this process and dividing the measurements, I began sketching the model’s basic outline. It was at this point that I messed up the measurement of the nose by elongating the size. This is a common mistake that I make, and I am determined not to repeat it in the future. However, I proceeded with my process and began blocking in the deepest shadows of the figure. Next, I created a dark background around the figure. This helps me to create context for myself when mapping out mid-tones and highlights. Then, I smeared the charcoal around on the paper with my hand.
Lastly, I began adding highlights with the polymer and pencil eraser. I found that this really gives the drawing life. I added details and tweaked a few elements throughout the session. I was having trouble drawing the subtle hints of open eyes, but the professor helped me to realize that I needed to slightly indicate the surface of the lower lid with a highlight. This helped me a lot. Overall, I was satisfied with my blending techniques but was very frustrated with myself for messing up the nose measurements.
Created on: 29 January 2026
Medium: Graphite on Paper