Life Drawing: Week One: Part One
Written by: Corona’s Artwork
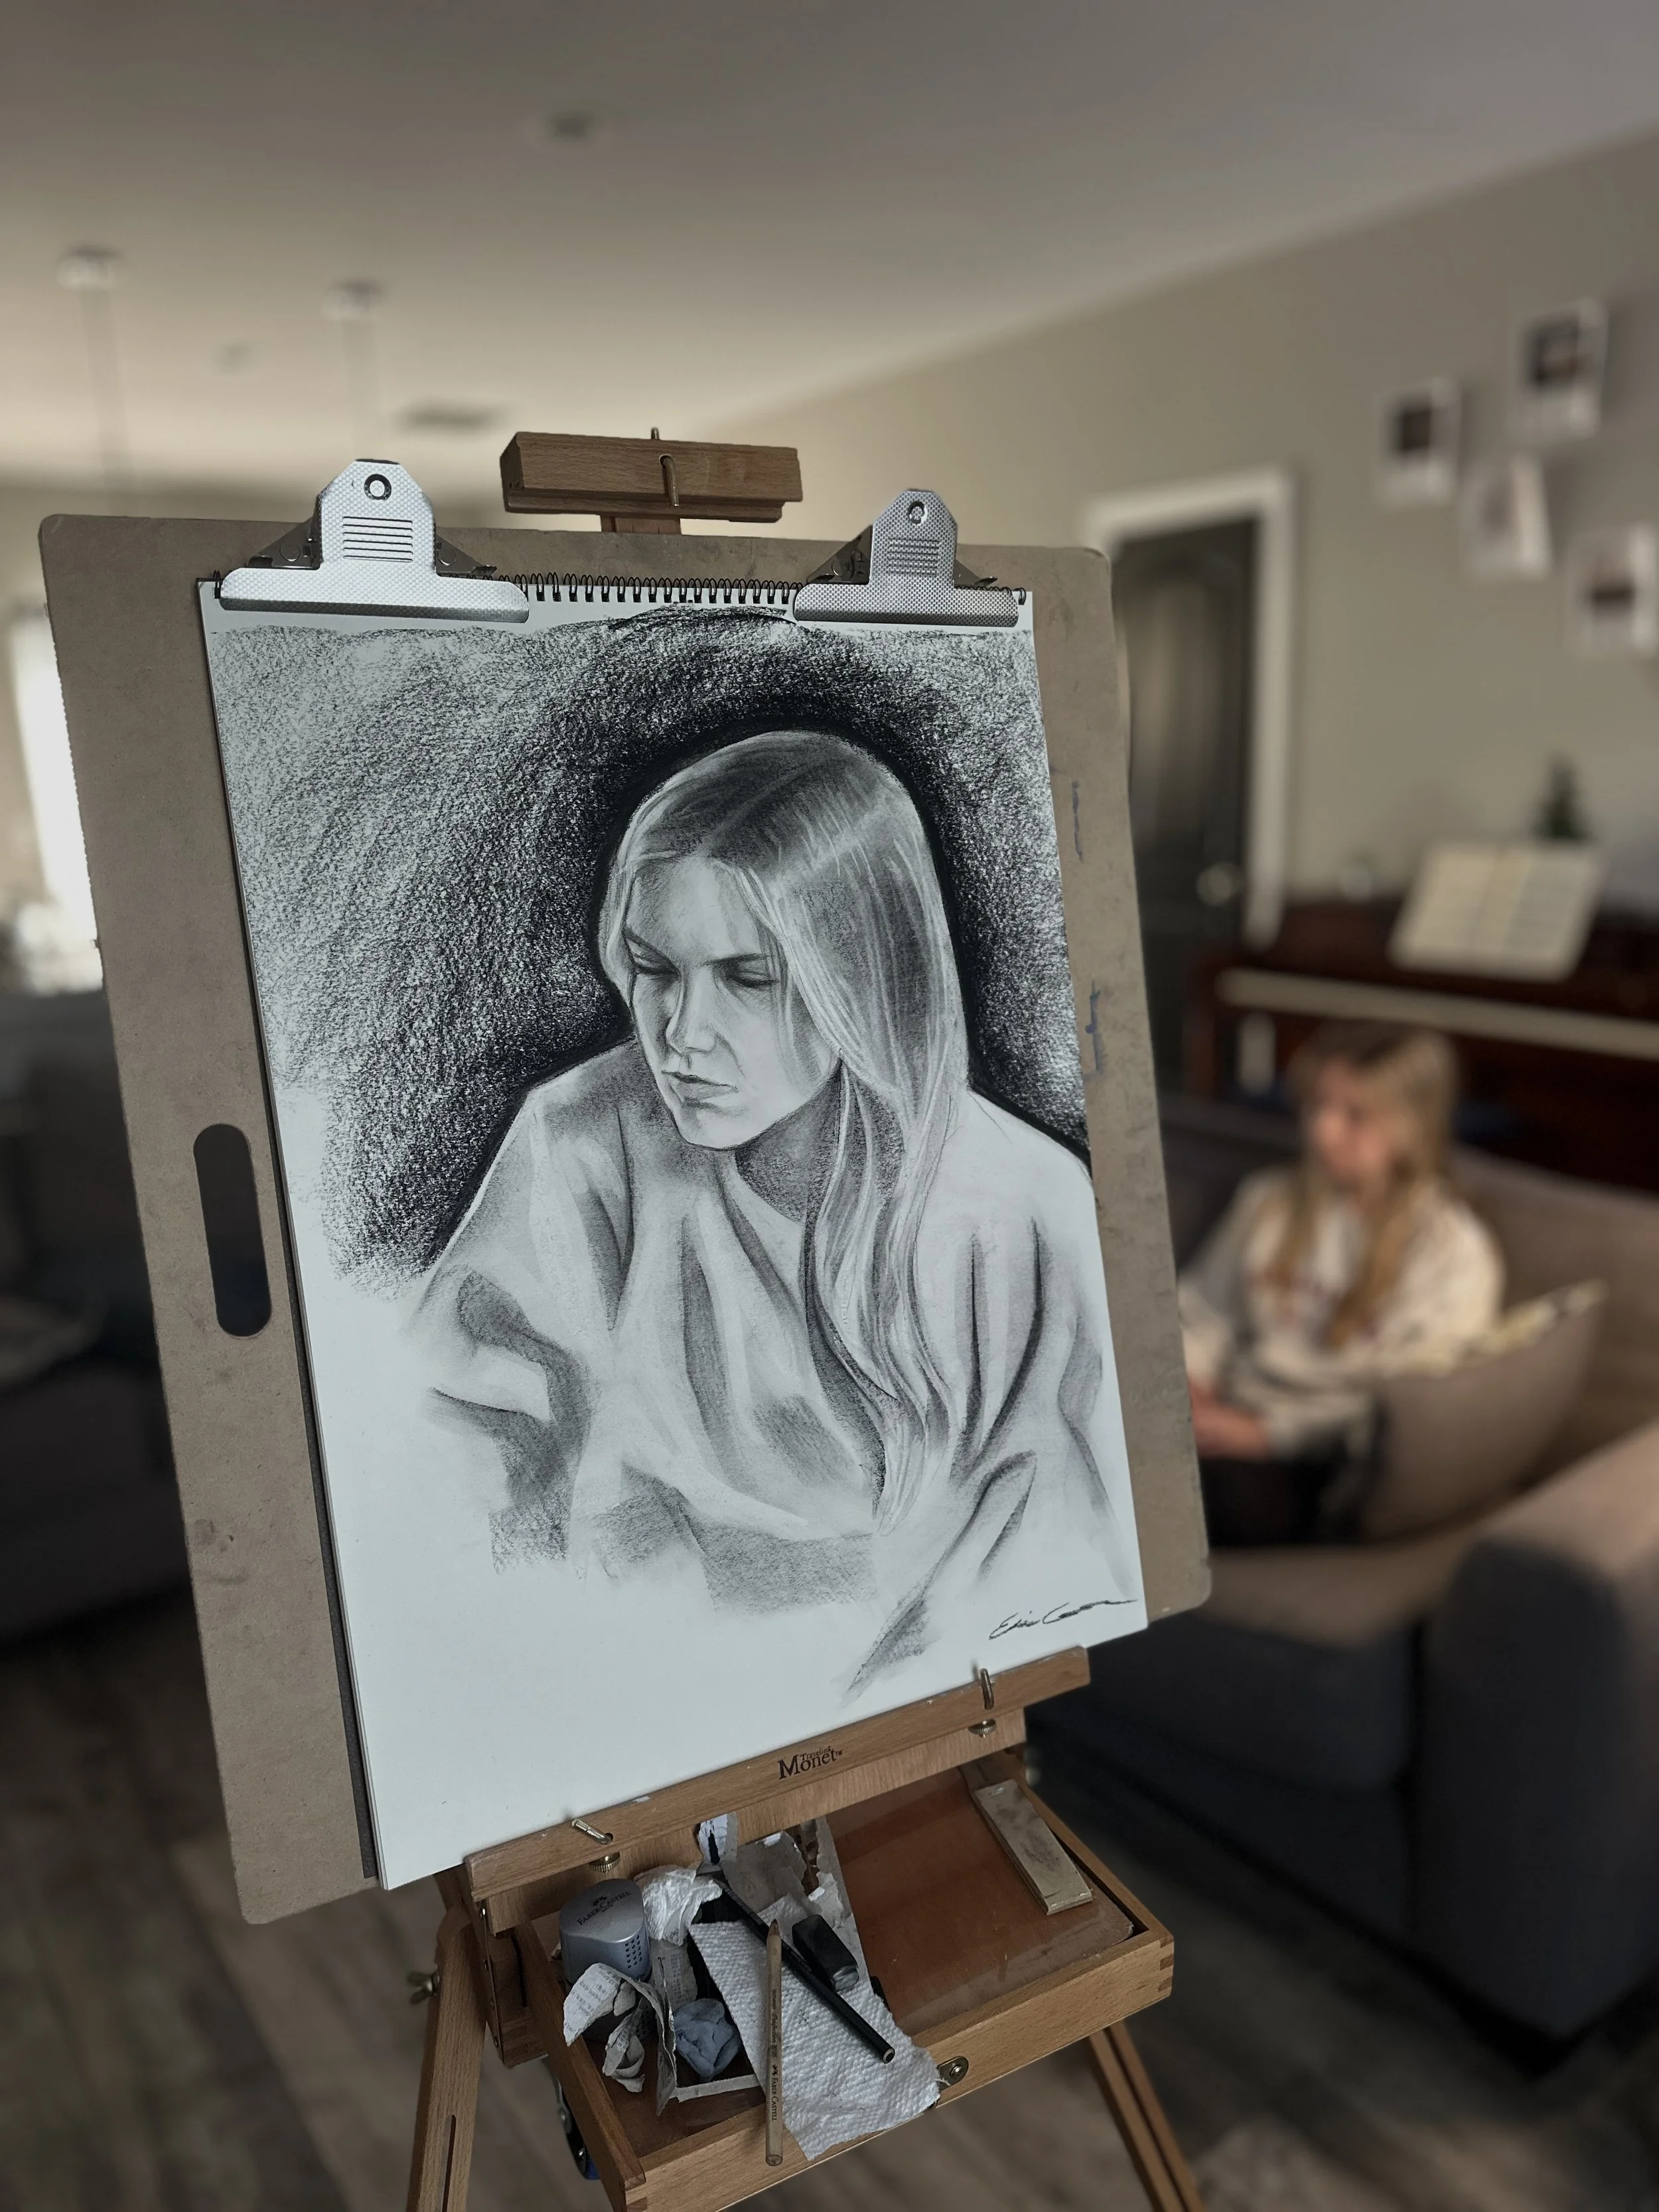
Set-Up
Preparation is a very important step when it comes to creating a successful piece of artwork. If the workspace around me is too cluttered, it could potentially lead to my workflow being inefficient. Therefore, preparing my easel is typically the first step of the process. During this session, I setup a French Easel and attached my drawing paper to the clip. Next, I sharped my charcoal pencils and laid out the compressed charcoal sticks. From here, I made sure to set my erasers and eraser pencils to the side (I like to use these tools to create highlights within my drawings. As a side note, eraser pencils are my favorite drawing tool).
Lighting
Next, I make sure to take inventory of the lighting around me and determine whether any additional lamps are necessary. In this case, I turned off the overhead lights and used a lamp as the primary light source. Next, I slightly opened the blinds across the room to create a softer, secondary light source on the opposite side of the model. Before finalizing anything, I make sure the lighting doesn’t alter the model’s appearance by casting strange shadows.
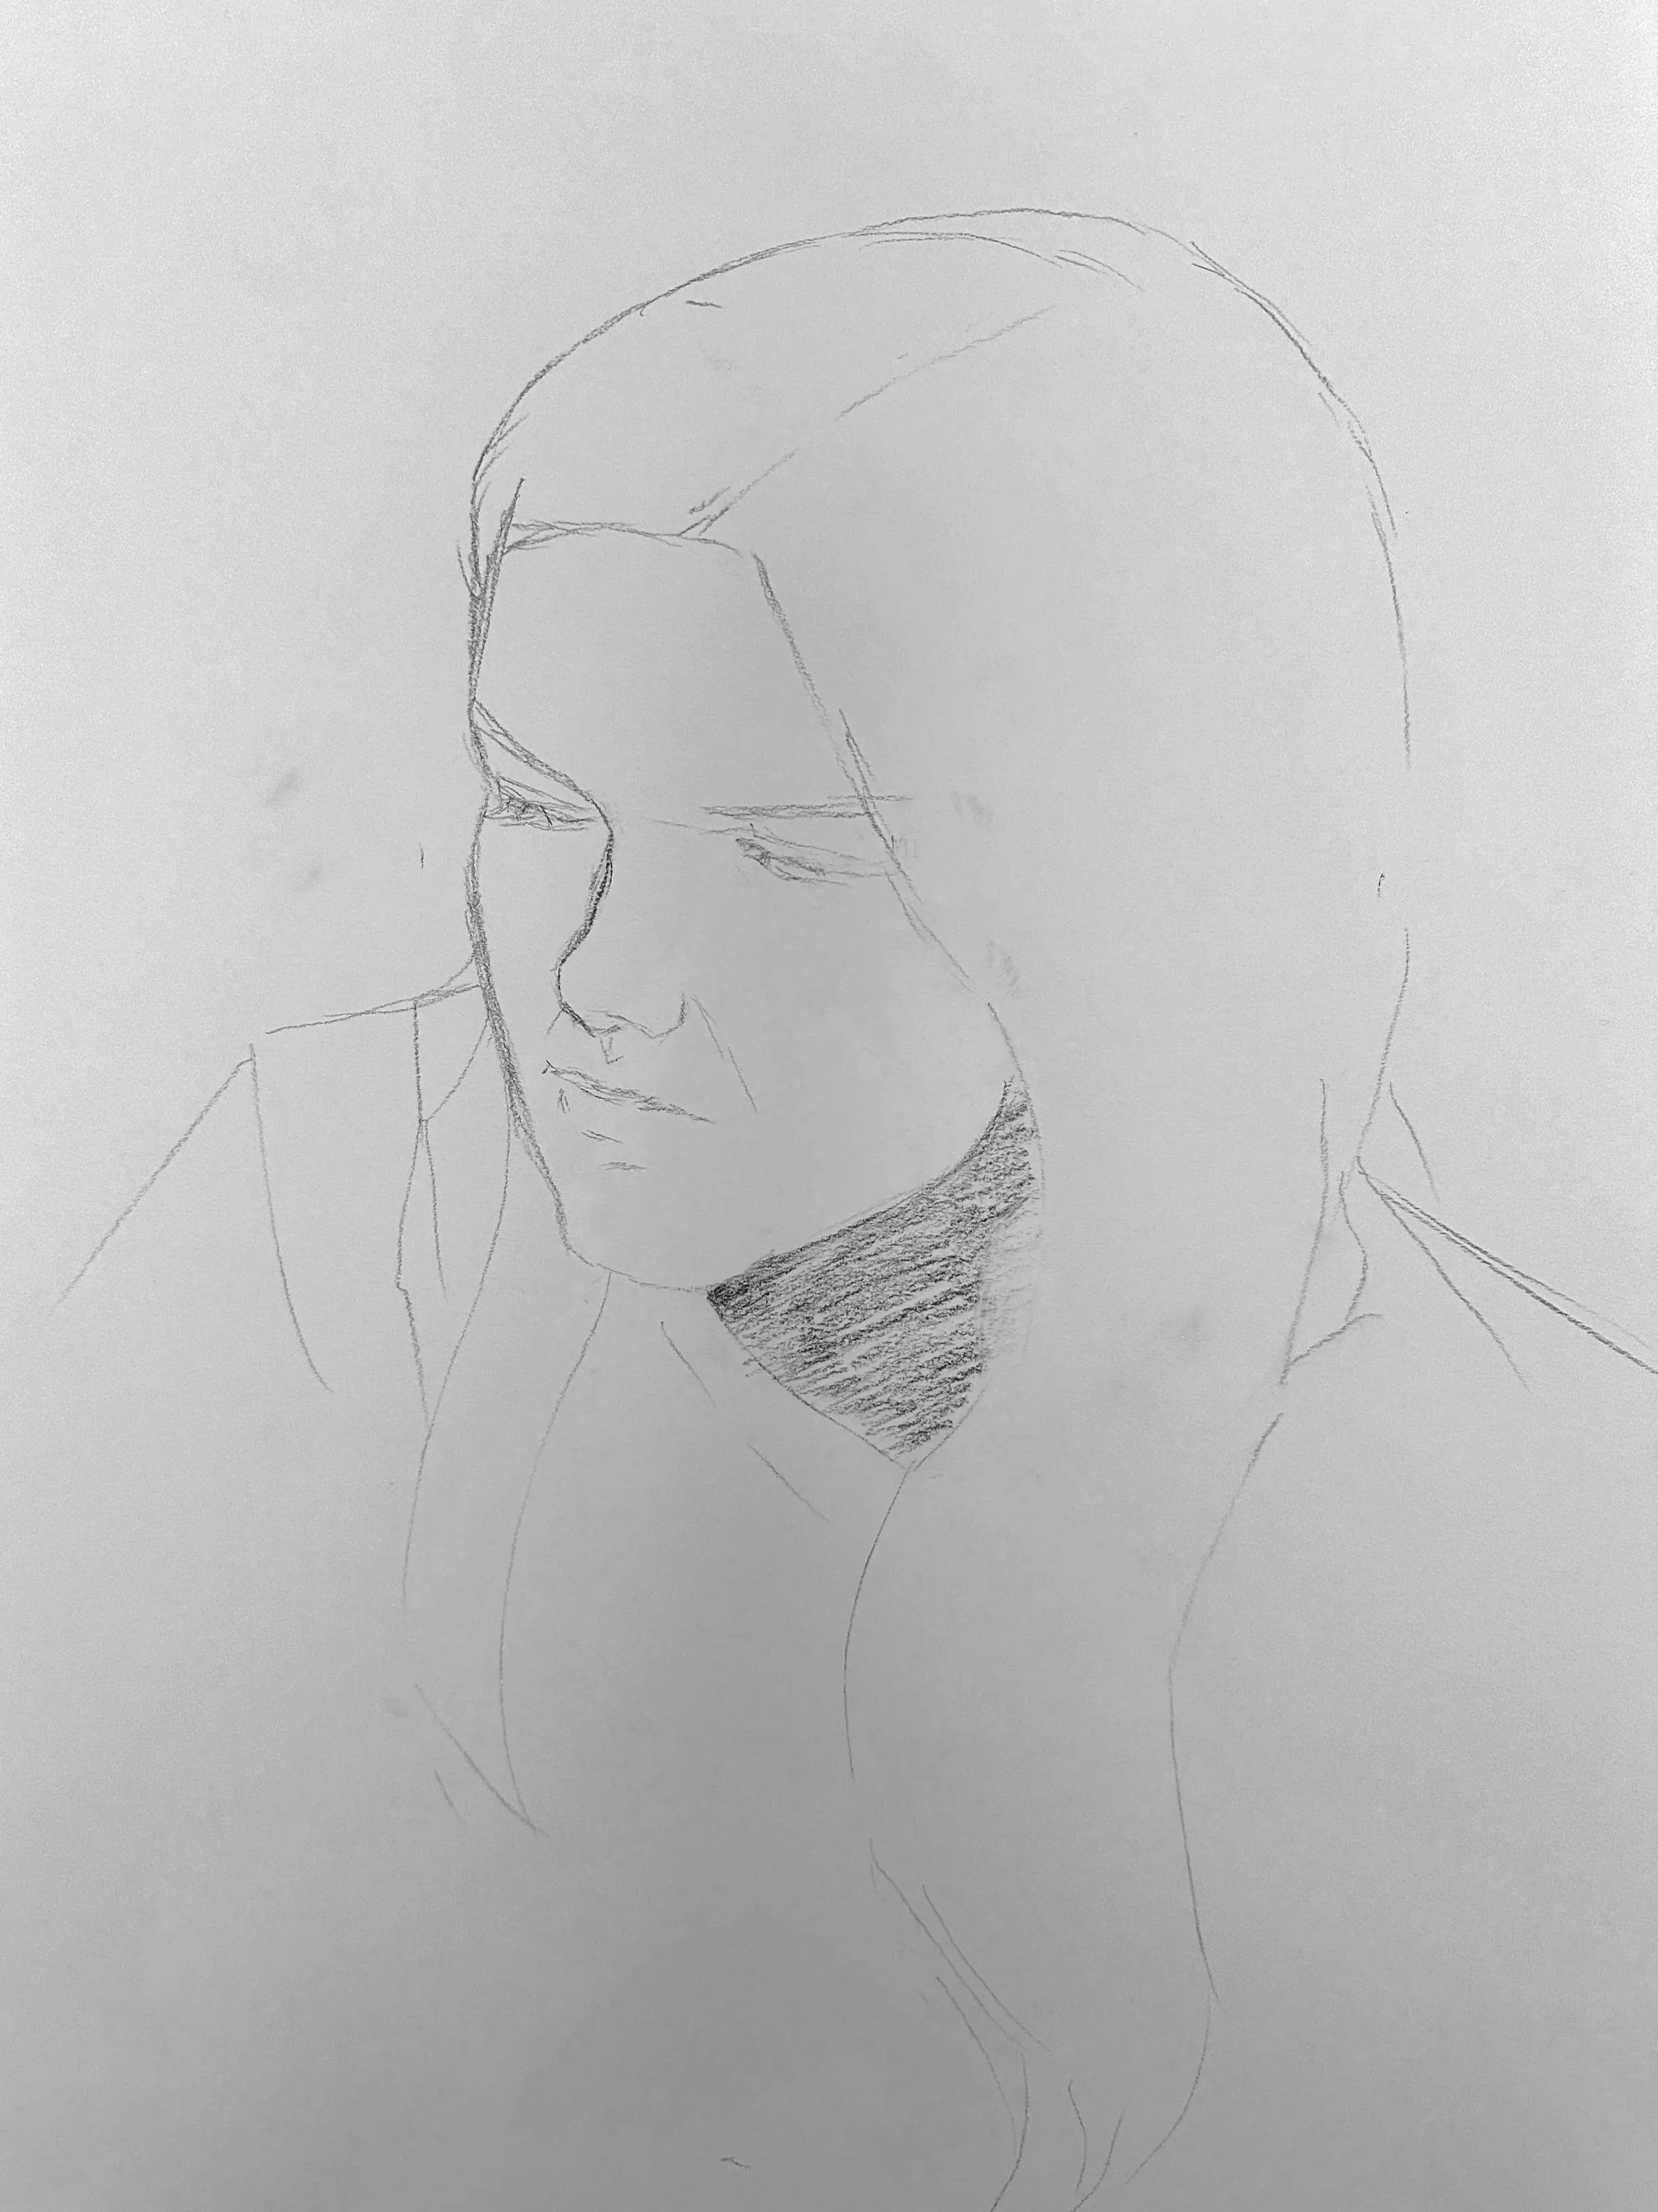
Drawing
Once the logistical items are in place, I am ready to begin drawing! This specific process is broken up primarily into three distinct stages. The first stage is creating the “linear sketch.” During this phase, I observe the model’s facial proportions by employing sight-measuring techniques and by observing plumb lines. This is the most essential drawing stage. If the measurements are recorded wrong during this seemingly basic step, then the whole project will be distorted by inaccurate proportions.
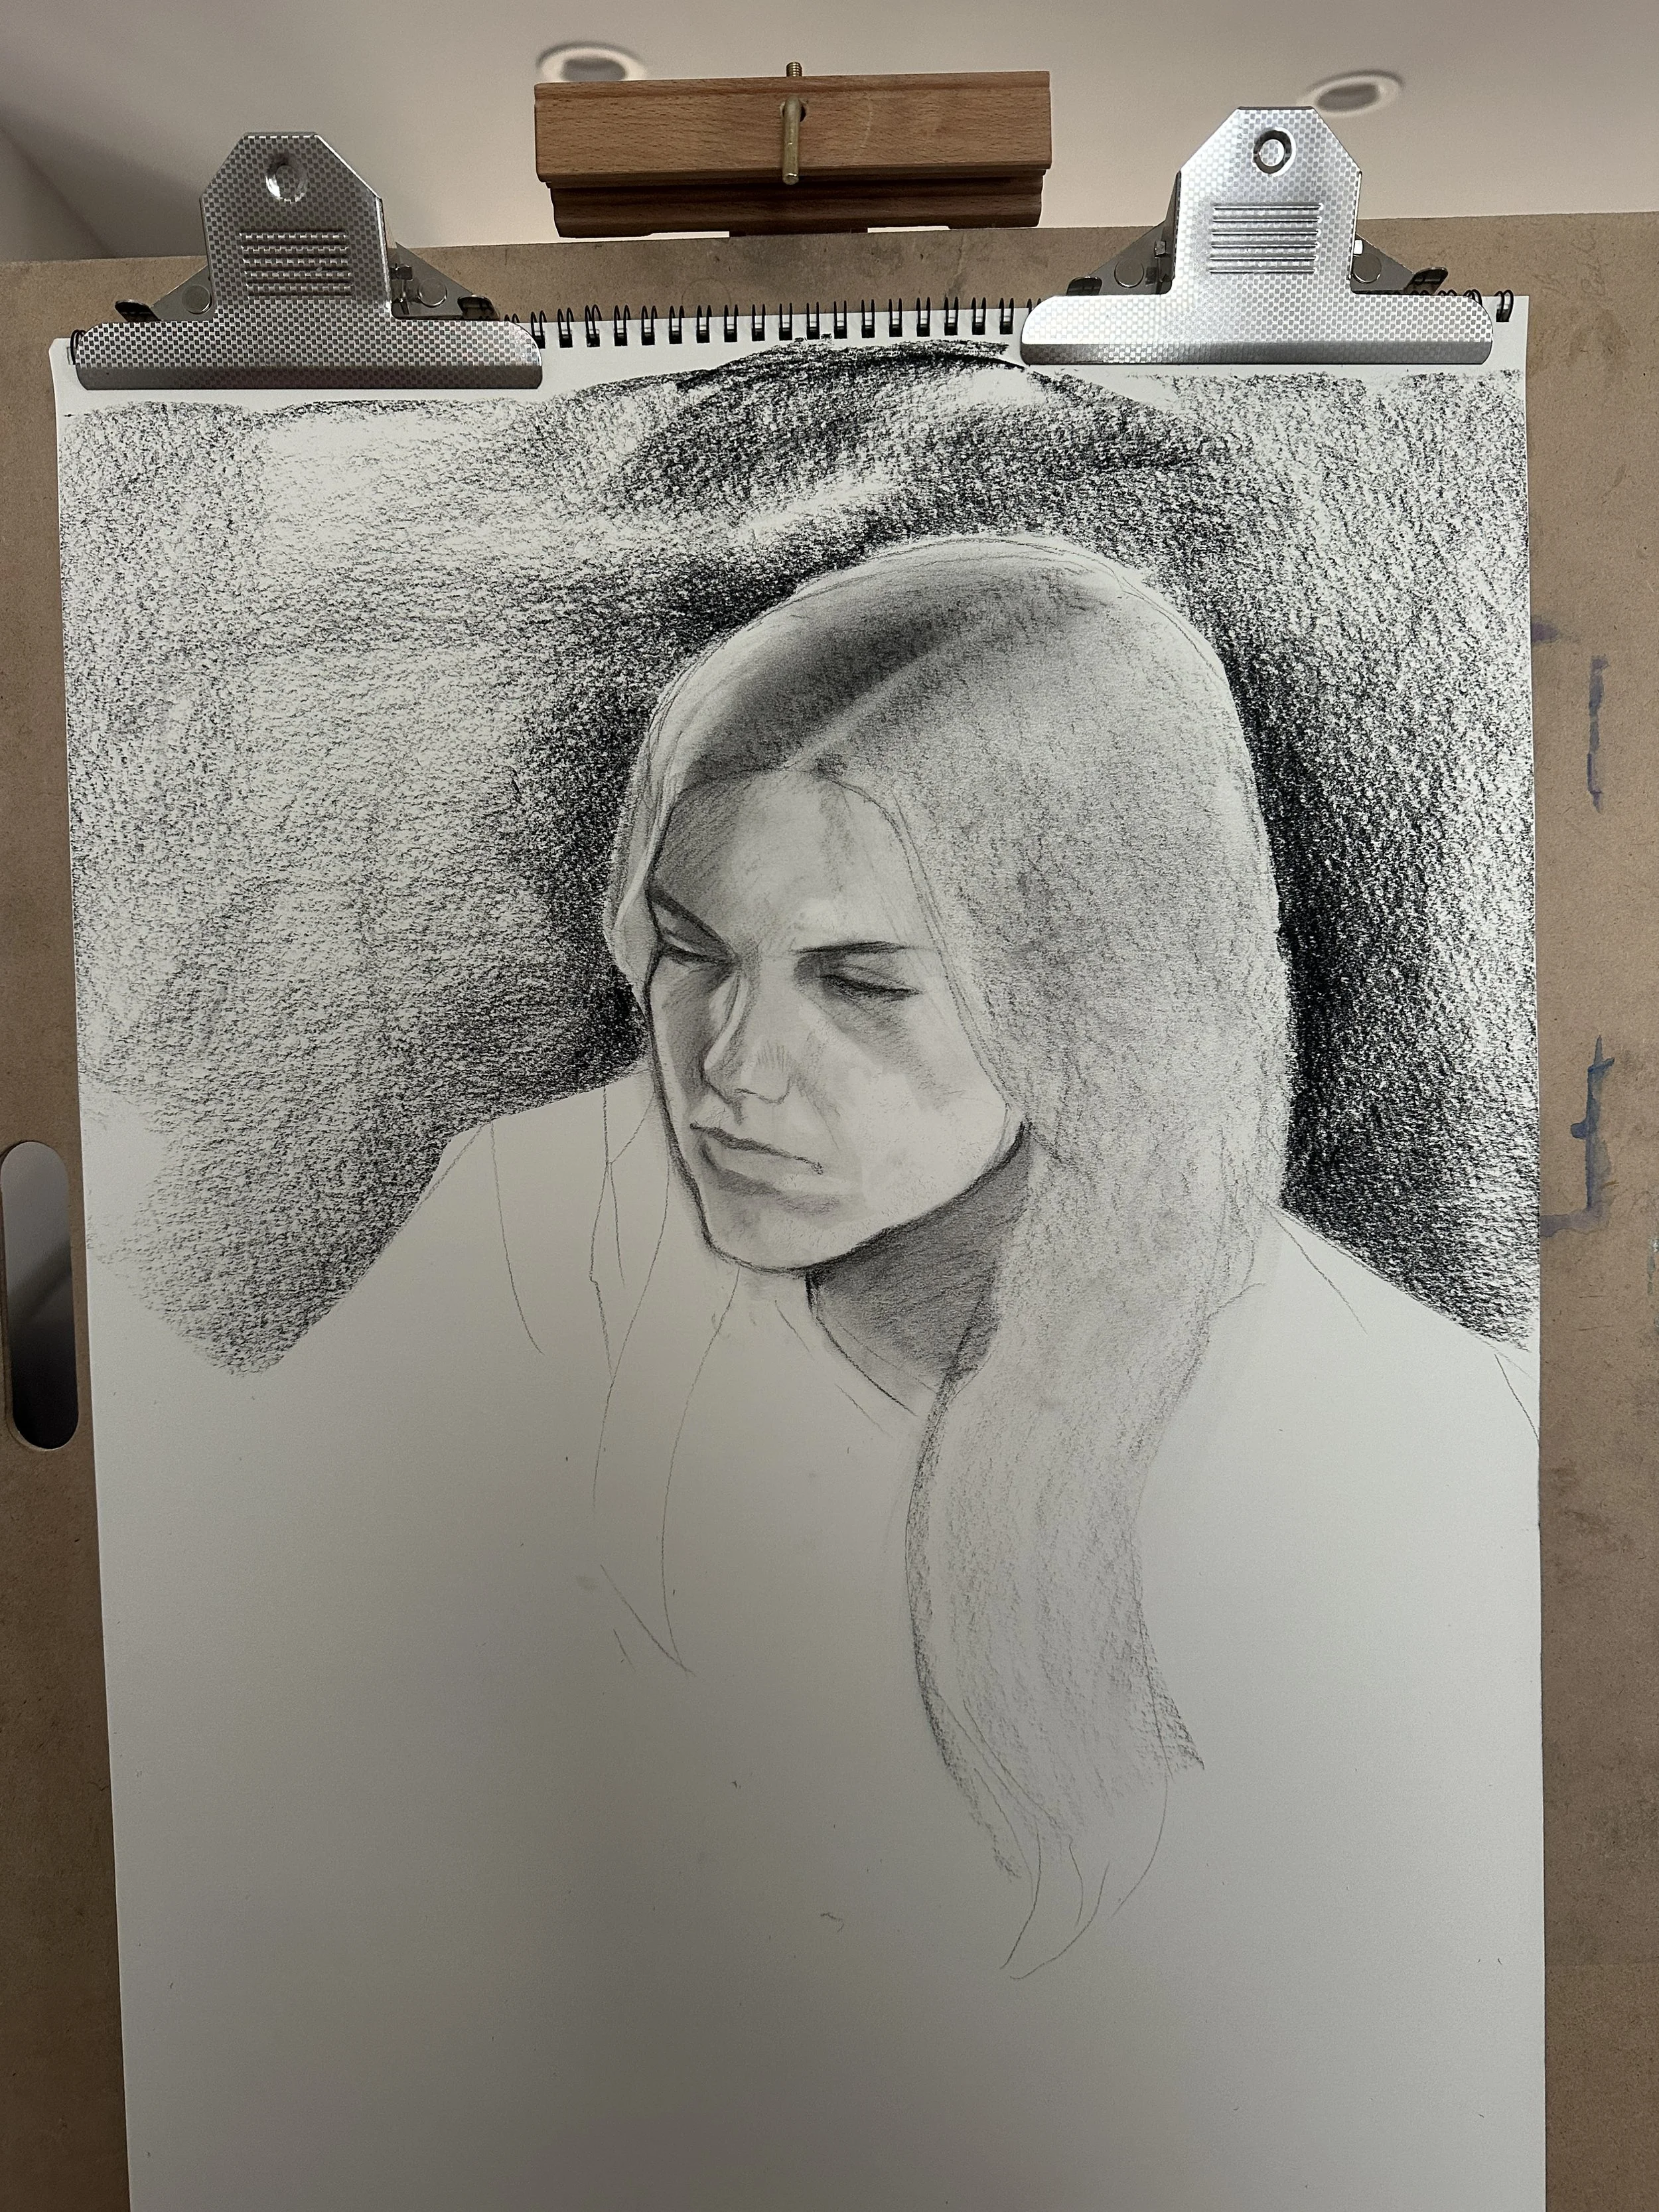
The second stage includes laying down the “value/shape block-in.” Here, I begin searching for the darkest shadows on the model. Next, I draw those shadows with a compressed charcoal stick. Afterwards, I smudge the charcoal across the entirety of the paper to darken the overall value of my subject (this will be important for later).
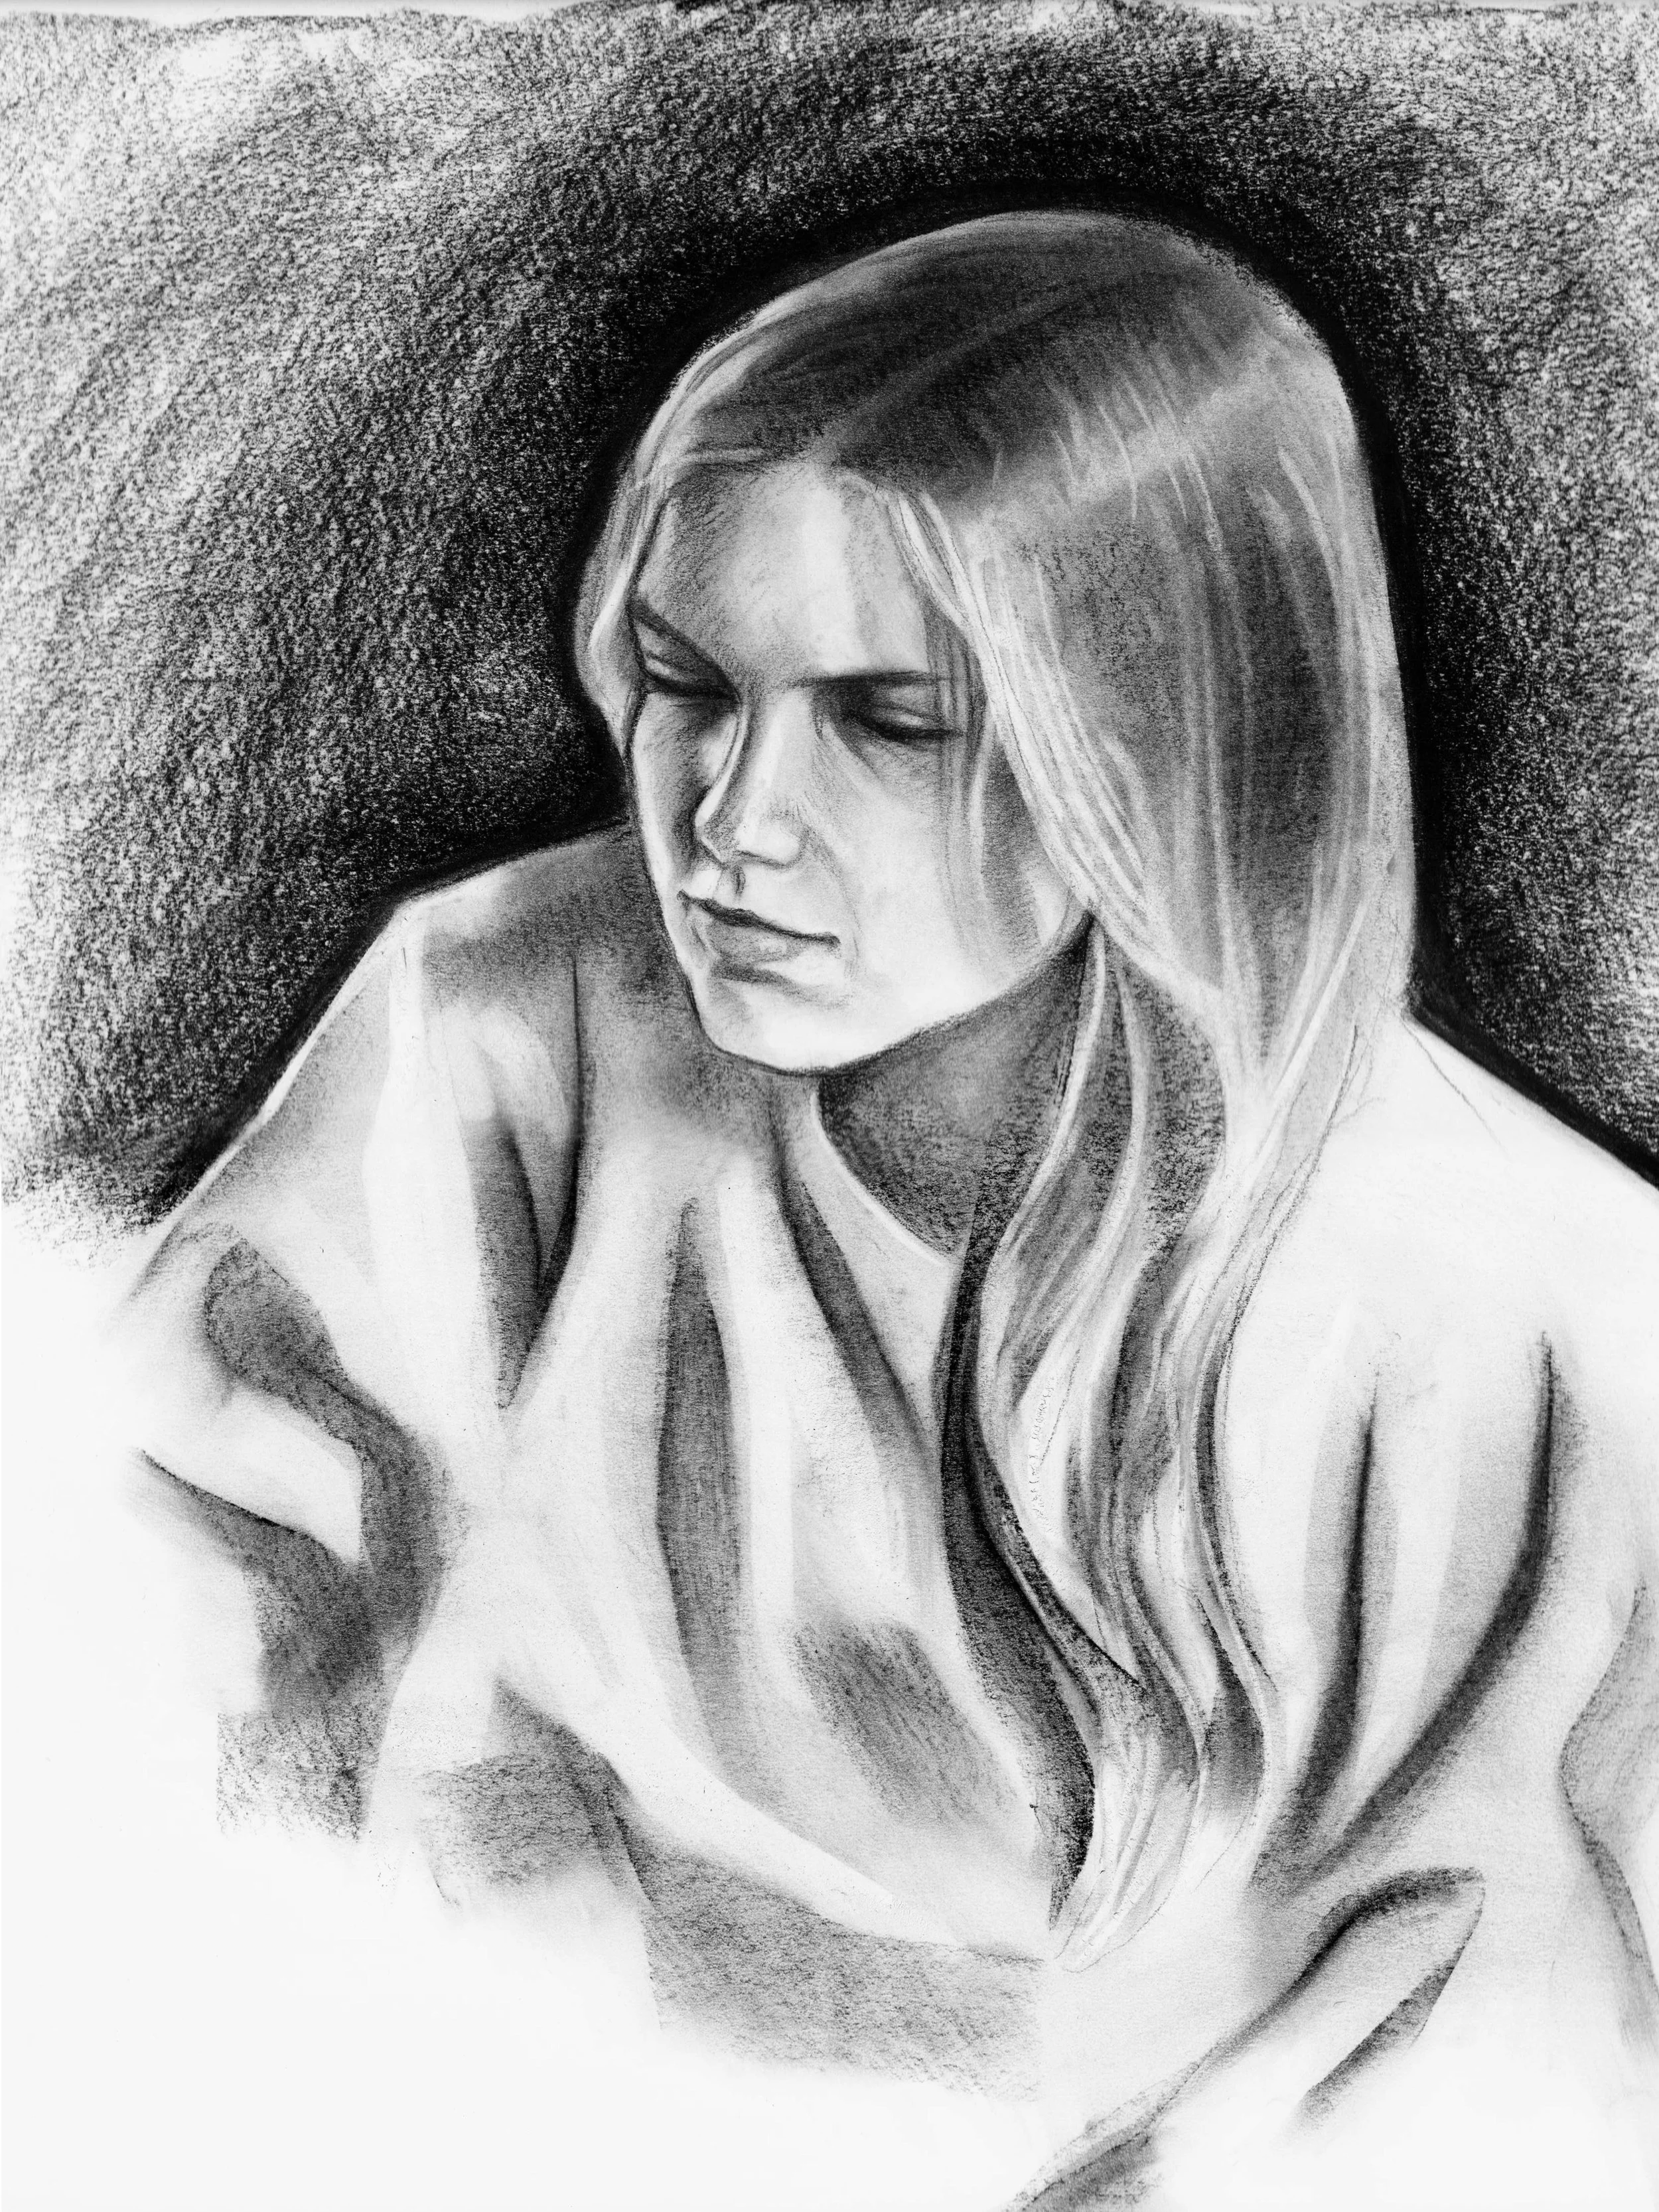
The third and final step is completing the artwork. During this stage, I add details to the drawing by sharpening edges and by creating highlights with my eraser. If I didn’t smudge the paper in the previous stage, then the highlights wouldn’t stand out as much and be as effective. After taking additional time to make any last minute adjustments, I consider my drawing complete! In total, this project took about 1.5 hours to complete.